You click, you configure, you create—all in three simple steps with the new Raspberry Pi Imager. This streamlined tool transforms your setup experience by eliminating technical barriers that once slowed your project development. With its modern interface and enhanced security features, you’ll customize your Pi before it even boots, setting SSH keys and Wi-Fi credentials without touching a configuration file. The improved cross-platform consistency guarantees your workflow remains uninterrupted, but this efficiency advantage is just the beginning.
Key Takeaways
- The redesigned UI with Qt 6 framework offers improved responsiveness and drag-and-drop functionality across all operating systems.
- Pre-boot configuration options allow secure setup of SSH, Wi-Fi credentials, and custom hostnames without manual file editing.
- The streamlined three-click installation process simplifies OS deployment while preventing accidental system drive overwrites.
- Multi-language support with over 50 languages enables accessibility for international users through the CTRL+SHIFT+L shortcut.
- Advanced features include NVMe drive support, keyboard shortcuts for power users, and regex validation for SSH keys.
Modern UI Across All Platforms: A Smoother Experience
When Raspberry Pi Imager 1.9 launched, it brought a completely redesigned interface built on the Qt 6 framework, delivering a consistent experience across Windows, macOS, and Linux platforms.
This modern navigation system improves graphical rendering and responsiveness, regardless of your preferred operating system.
The UI architecture now features split components implemented through QML files, making the application more maintainable while guaranteeing intuitive interaction.
Qt-based components through QML files enhance maintainability while ensuring intuitive user interaction across all platforms.
Modal dialogs behave consistently—pressing Esc to close settings works the same way everywhere.
Linux users benefit from the new AppImage support, eliminating complex installation procedures.
This containerized approach guarantees you’ll get the same modern interface across all Linux distributions without compatibility concerns.
The coherent design language throughout the application makes shifting between platforms seamless if you work across multiple systems.
The latest Imager version includes a convenient drag and drop feature that allows users to directly import image files without navigating through multiple menus.
Version 1.8.1 introduces an improved OS Customization feature with a tabbed interface that makes configuring your Raspberry Pi setup more intuitive than ever before. Additionally, users can easily flash Raspberry Pi OS to their microSD cards, ensuring a quick start to their projects.
Enhanced Security Features to Protect Your System
While security often takes a backseat during system setup, Raspberry Pi Imager‘s enhanced security features address critical vulnerabilities right from the imaging stage.
You’ll appreciate the secure SSH configuration options that eliminate default credential risks by enabling hashed password protection before your Pi’s first boot. Additionally, implementing SSH key authentication provides stronger security through cryptographic authentication compared to traditional password methods.
The Imager safeguards your WiFi credentials by preconfiguring network settings without exposing sensitive information in plaintext configuration files.
Customize your hostname security through advanced options to avoid generic identifiers that attract unwanted attention on networks.
What’s particularly valuable is how these security measures reduce your attack surface by disabling unnecessary services and preventing post-installation vulnerabilities.
All advanced options can be saved for consistent deployment across multiple devices, with settings stored securely rather than in plaintext—ensuring your Pi projects start with security built-in, not bolted on. These settings are stored in configuration files that vary by operating system, such as ~/.config/Raspberry Pi/Imager.conf for RPiOS or registry entries for Windows users.
Accessing the secret menu with Ctrl + Shift + X reveals all these security configuration options before writing your image, giving you comprehensive control over your device setup.
Streamlined Installation With Fewer Clicks

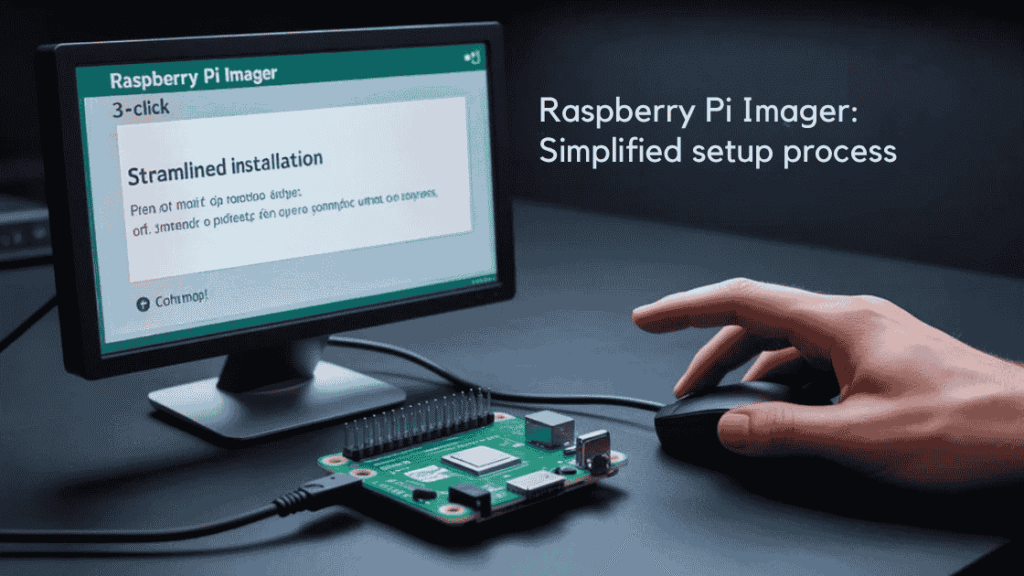
The Raspberry Pi Imager revolutionizes the installation process by reducing a traditionally complex multi-step procedure to just three essential clicks.
This user-focused design consolidates device selection, OS installation, and storage targeting into a unified workflow—eliminating guesswork and potential errors. The streamlined process increases accessibility for beginners and experts alike, ensuring that even those new to Raspberry Pi can easily navigate the setup.
The one-click setup approach enables you to:
- Pre-configure your Pi with custom settings (Wi-Fi, SSH, hostname) before even booting the device
- Select storage devices with clear size identification to prevent accidental overwrites
- Complete the entire process in a single application rather than juggling multiple tools
The imager recommends using at least 32GB for Raspberry Pi OS to ensure optimal performance and sufficient storage space for applications.
Advanced options remain accessible via keyboard shortcuts for power users while maintaining a streamlined interface.
Cross-platform compatibility guarantees you’ll experience the same efficient workflow regardless of your host operating system.
The latest version 1.6 offers enhanced support for NVMe drives as viable installation targets alongside traditional SD cards.
Multi-Language Support For Global Users
You’ll find extensive language options in the Raspberry Pi Imager through the keyboard shortcut CTRL+SHIFT+L, enabling setup in your preferred language without traversing complex menus.
The software respects your system’s default language while providing manual override capabilities, accommodating users worldwide with intuitive translation integration. Many users have reported difficulty finding the language change option due to its absence from the main interface. This feature addresses the persistent frustrations multilingual users experienced with previous Raspbian versions regarding separate language and keyboard settings.
Though the language selector isn’t prominently displayed in the main interface, this open-source approach allows community contributions to continuously improve localization support across diverse regions.
Language Accessibility Expanded
Recognizing the global adoption of Raspberry Pi devices, version 1.9.4 of the Raspberry Pi Imager has greatly expanded its language accessibility options.
The updated language localization now includes Portuguese, Hebrew, Georgian, and Korean, while existing translations for several languages have been improved. This represents a significant upgrade from previous versions where language switching required hidden key combinations.
The enhanced user friendly interface addresses key accessibility improvements:
- Direct language selection options eliminate the need for secret key combinations (Ctrl+Shift+L) previously required.
- Improved multi-locale support resolves historical inconsistencies between system language and keyboard layouts.
- Qt 6.9 framework integration provides more stable translation implementation across the entire interface.
You’ll find these changes particularly valuable when configuring devices in multilingual environments or educational settings. This enhancement addresses the needs of international users as reflected in numerous community discussions about language support. The latest stable version of the Raspberry Pi Imager reflects the company’s commitment to community and user inclusiveness.
Intuitive Translation Integration
While earlier versions of the Raspberry Pi Imager offered basic language selection options, version 1.9.4 revolutionizes translation integration through extensive API connectivity with Microsoft Translator and Google Translate services.
You’ll benefit from real-time text translation across 50+ languages and dialects, enhancing multilingual support for global accessibility. Additionally, this robust functionality aligns with the Raspberry Pi’s capability to provide hands-on experience for users looking to develop technical skills.
The integration leverages Tesseract OCR to translate text within images instantly—a powerful feature when combined with Raspberry Pi’s camera capabilities.
Translation accuracy is greatly improved through the Qt 6.9 framework implementation, which optimizes text display across diverse scripts and languages.
Recent additions include Portuguese, Hebrew, Georgian, and Korean support, with thorough updates to major languages.
This systematic approach to localization extends beyond mere UI elements to voice prompts and error messages, creating a seamless experience regardless of your native language.
The system can perform cross-translation between thousands of language pairs, similar to Dave Conroy’s universal translator project.
The updated Imager 1.9.4 has removed the Show password checkbox to strengthen overall security measures for users.
Advanced Configuration Without Technical Expertise

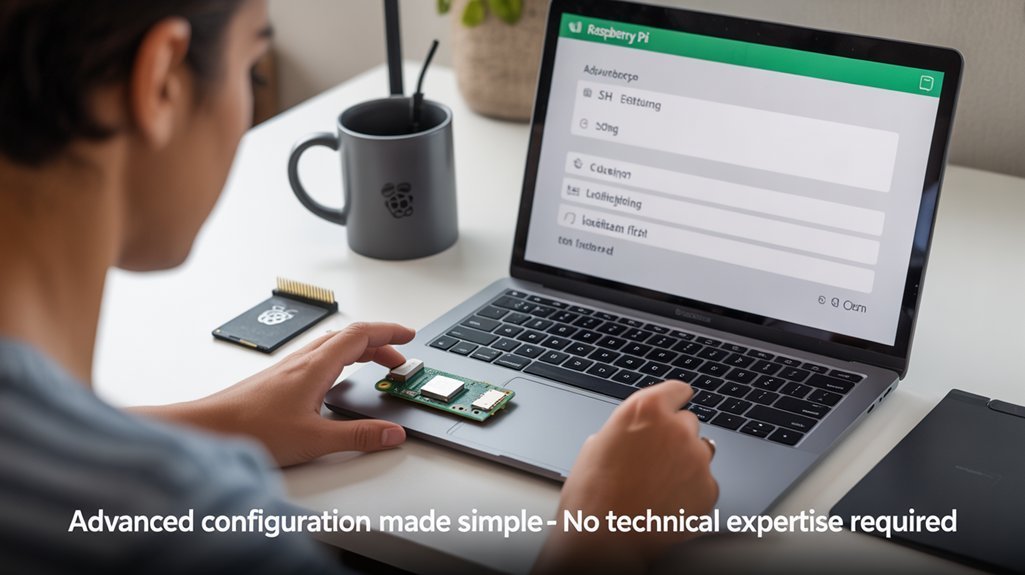
The Raspberry Pi Imager transforms complex configuration tasks into accessible options even for users with limited technical knowledge.
The advanced setup interface—accessible via Ctrl+Shift+X—eliminates the need to manually edit config files or create special bootup triggers. This hidden menu was introduced in the latest update to enhance customization flexibility.
You’ll configure essential parameters through user-friendly configuration screens that streamline headless deployments and regional customization.
- Complete pre-boot customization – Set usernames, passwords, Wi-Fi credentials, hostname, and SSH access all before your Pi boots for the first time
- Localization efficiency – Configure time zones, keyboard layouts, and wireless country settings that comply with local regulations
- Network-ready deployment – Enable immediate remote management by preconfiguring connectivity options that make your Pi accessible the moment it powers on
The tool makes it possible to set up your Raspberry Pi without peripherals through its headless installation capabilities, requiring only a power source to get started.
System Drive Protection to Prevent Accidents
Raspberry Pi Imager incorporates safeguards that hide your computer’s system drives by default, preventing you from accidentally overwriting critical system partitions.
This protection mechanism identifies system drives versus removable storage through detection of “removable” and “hotplug” flags, particularly on Linux systems. This is especially important when considering that extensive testing has shown power cut resilience with quality SD cards even under extreme conditions. Some users have expressed interest in adding encryption options to provide additional data security features beyond the existing protections.
If you need to write to system drives, you’ll need to use the specialized command-line option `–enable-writing-system-drives`, though this disables other convenient features like Wi-Fi and SSH preconfiguration.
Hidden System Drives
One critical safety feature in newer versions of Raspberry Pi Imager protects users from potentially catastrophic mistakes. The software automatically hides system drives from the selection interface, enhancing hidden drive awareness while preventing accidental overwrites of your computer’s operating system partitions.
This intelligent safeguard delivers multiple benefits:
- Streamlined selection process – Only appropriate writable media appears in the interface, eliminating confusion when multiple storage devices are connected.
- Critical data protection – Internal SSDs and eMMC chips that contain your operating system remain invisible and protected from imaging operations, much like the recovery mode capabilities provided by NOOBS.
- Reduced risk of downtime – By preventing system drive selection, you’ll avoid the devastating consequences of overwriting your primary system storage.
These protections work silently in the background, allowing you to focus on your Raspberry Pi projects with confidence. This is especially important since SD cards may sometimes contain write-protect flags that can interfere with normal operations. For systems requiring enhanced protection, implementing full disk encryption can provide an additional layer of security against unauthorized data access when physical security cannot be guaranteed.
Safeguards Against Overwrites
Building upon the hidden drives feature, Raspberry Pi Imager implements multiple layers of system drive protection to safeguard users from destructive mistakes.
The software’s drive detection algorithms automatically identify and hide system volumes from the target selection menu, preventing accidental overwrite of your primary OS. This is particularly crucial given that the lifespan of Raspberry Pi typically ranges from 7-10 years in practical use.
When you attempt to flash to a system drive, the Imager blocks the operation unless you’ve explicitly enabled this capability.
For advanced users requiring system drive access, the command-line option `–enable-writing-system-drives` bypasses these restrictions, though it disables GUI-based configurations like SSH and Wi-Fi setup.
This protection extends to write-protected SD cards, respecting both temporary and permanent protection bits.
You’ll still maintain full access to Imager’s advanced options panel (Ctrl+Shift+X) without compromising these critical safeguards.
The tool significantly reduces the confusion around locating and updating Raspberry Pi OS images that many new users previously experienced.
Cross-Platform Consistency and Performance

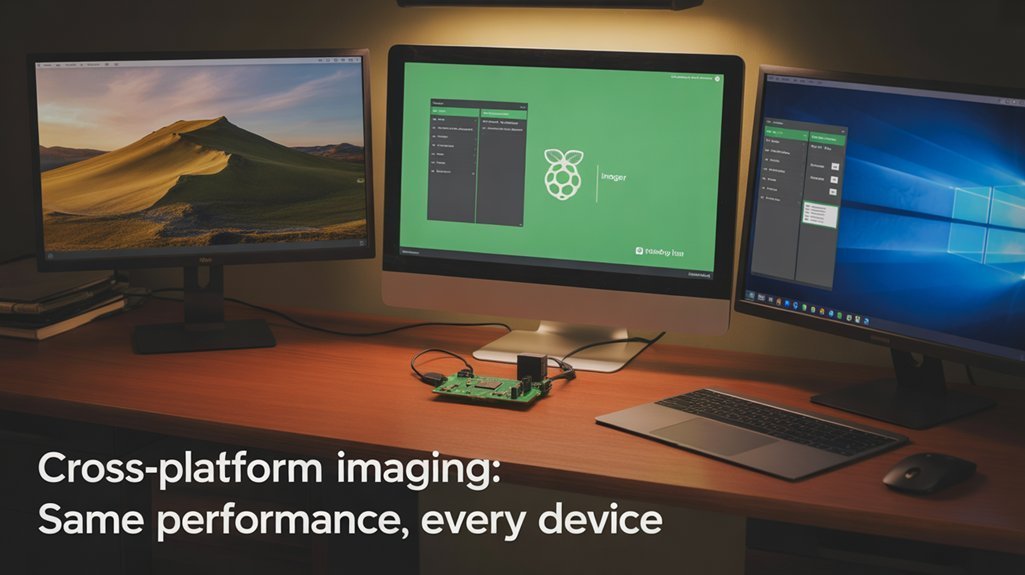
While consistency across platforms remains a challenge for many software tools, Raspberry Pi Imager excels by offering a unified experience regardless of your operating system choice.
Built with Qt 6 and available for Windows, macOS, and Linux, you’ll enjoy identical functionality and image writing performance across all systems. The tool allows you to easily configure GPIO pins for various applications.
Recent updates have notably enhanced cross-platform performance through:
- Regex validation for SSH keys to prevent boot failures during OS customization
- Platform-specific optimizations ensuring consistent image writing speeds across different host systems
- Abstracted device handling that simplifies the flashing process regardless of your hardware setup
The new “Exclude System Drives” checkbox feature helps prevent users from accidentally wiping system drives when selecting storage devices for flashing.
The tool’s platform-agnostic design means you can seamlessly shift between different computers while maintaining your Raspberry Pi workflow.
With identical UI elements and behavior ensuring a frictionless experience for both hobbyists and professionals.
Simplified OS Image Management for Beginners
Raspberry Pi Imager transforms the potentially intimidating process of setting up a Raspberry Pi into a straightforward experience for newcomers. The application consolidates multiple technical steps into a single interface, eliminating the need to manually edit configuration files.
Setting up your Pi becomes beginner-friendly with an all-in-one interface that removes technical hurdles.
You’ll find user-friendly configurations hidden behind the Ctrl+Shift+X menu, where you can preset hostname, locale settings, and user credentials before first boot. This streamlined connectivity approach enables immediate SSH access and Wi-Fi connectivity from startup—critical for headless deployments.
The imager downloads the latest OS versions directly from source, writes them efficiently to your SD card, and can even import your host system’s Wi-Fi credentials automatically.
With built-in support across Windows, macOS, and Linux, you’ll enjoy consistent performance regardless of your platform while benefiting from clear documentation that reduces setup errors.
Frequently Asked Questions
Can Raspberry Pi Imager Be Used to Write Non-Raspberry Pi OS Images?
Yes, you can use Raspberry Pi Imager to write OS image formats from Raspberry Pi alternatives. Select “Use custom” to flash non-standard images, provided they’re compatible with Raspberry Pi hardware.
How Does Offline Usage Work if Internet Connection Is Unavailable?
Imagine being stranded without internet when your project deadline looms. You’ll need preloaded images for offline installation, as Raspberry Pi Imager has limited functionality without connectivity. Use the “Custom” option to flash previously downloaded OS files.
Can I Customize Partitions or Resize Storage During the Imaging Process?
No, you can’t perform custom partitioning or storage resizing directly in Raspberry Pi Imager. You’ll need to modify partitions using external tools like GParted before or after the imaging process.
Is Data Recovery Possible After Accidentally Overwriting the Wrong Drive?
Yes, data recovery is possible after accidental overwrites, but success depends on overwrite extent. You’ll need specialized file retrieval tools like TestDisk, and should immediately stop using the affected drive.
Does the Imager Support Automatic Updates to Keep Software Current?
Raspberry Pi Imager doesn’t provide automatic update features for installed systems; you’ll need to configure unattended-upgrades separately. For software maintenance benefits, implement cron jobs or package management tools after OS installation.
Conclusion
The enhanced Raspberry Pi Imager transforms your setup experience while maintaining robust security protocols. You’ll navigate a modernized interface that eliminates complexity yet preserves advanced configuration options. Where previous versions required technical expertise, you now enjoy streamlined accessibility; where security once demanded post-installation troubleshooting, you’re now protected from the start. By implementing this updated utility, you’re simultaneously simplifying your workflow and strengthening your system’s integrity across any platform.
