You’ve probably spotted those add-on boards perched atop Raspberry Pi computers in countless projects. Raspberry Pi HATs (Hardware Attached on Top) transform your basic Pi into a specialized tool with just a simple connection to the GPIO pins. At 65x56mm, they maintain a compact footprint while adding capabilities from motor control to audio processing. Their standardized design and built-in identification system eliminate configuration headaches. But which HAT actually suits your specific project needs? The selection criteria might surprise you.
Key Takeaways
- HATs provide standardized 65x56mm expansion boards that securely connect to Raspberry Pi’s 40-pin GPIO header for plug-and-play functionality.
- Each HAT contains an I2C EEPROM that enables automatic recognition and configuration, eliminating manual setup requirements.
- HATs support diverse applications from audio enhancement to robotics, making them versatile for educational, hobbyist, and professional projects.
- The HAT+ specification allows stacking multiple boards with proper addressing, significantly expanding functionality without configuration conflicts.
- Installation requires minimal technical knowledge—simply align the board, secure it to the GPIO pins, and install any necessary drivers.
What Are Raspberry Pi HATs and How Do They Work?
HATs (Hardware Attached on Top) represent the standardized expansion solution for Raspberry Pi single-board computers.
These precisely-engineered 65x56mm boards attach securely through four mounting points and connect via the 40-pin GPIO header, providing robust mechanical stability compared to earlier add-on solutions. Each HAT leverages the programmable digital signal interfaces of the GPIO pins to ensure seamless communication with connected components.
The core of HAT functionality lies in its intelligent design—each includes an I2C EEPROM containing device identification data, pin configurations, and driver information.
Intelligent HATs embed crucial configuration data in their I2C EEPROM, enabling seamless device recognition and automatic setup on Raspberry Pi systems.
When connected, your Pi automatically recognizes the hardware and configures required settings, eliminating manual setup.
HAT applications range from sensor integration to motor control, display systems, and networking extensions. Community enthusiasts are actively developing HATs for various uses including robotics and arcade games.
The electrical interface supports multiple protocols (I2C, SPI, UART) while maintaining consistent power handling through designated pins.
Advanced HAT+ specifications even enable stacking multiple boards, exponentially expanding your Pi’s capabilities while preserving reliable operation.
Products like HiFiBerry DAC+ enhance Raspberry Pi projects with high-quality sound output for improved audio streaming capabilities.
Essential HATs for Different Project Categories
Selecting the right expansion board for your Raspberry Pi project dramatically impacts its capabilities and performance.
For AI applications, the Grove AI HAT with Kendryte K210 processor delivers 0.5 TOPs of computing power, while the Raspberry Pi AI Kit accelerates YOLOv8 object detection at 30fps. The standard specification introduced in 2014 helps ensure compatibility across diverse AI hardware options.
Home automation benefits from ANAVI Flex and Infrared pHATs, combining sensor integration with remote control capabilities. Marine applications can utilize Boatcontrol HAT for switching up to 32 onboard latching relays with high power capacities.
For robust projects, consider power management solutions like the Power Management HAT with embedded Arduino MCU or the PoE HAT supporting IEEE 802.3af/at standards.
Surveillance systems gain edge intelligence through AI Kit-accelerated computer vision for safety compliance monitoring.
Meanwhile, lighting control projects thrive with ANAVI Light pHAT, which manages RGB LED strips while integrating environmental sensors for responsive automation.
Top Criteria for Selecting the Right HAT

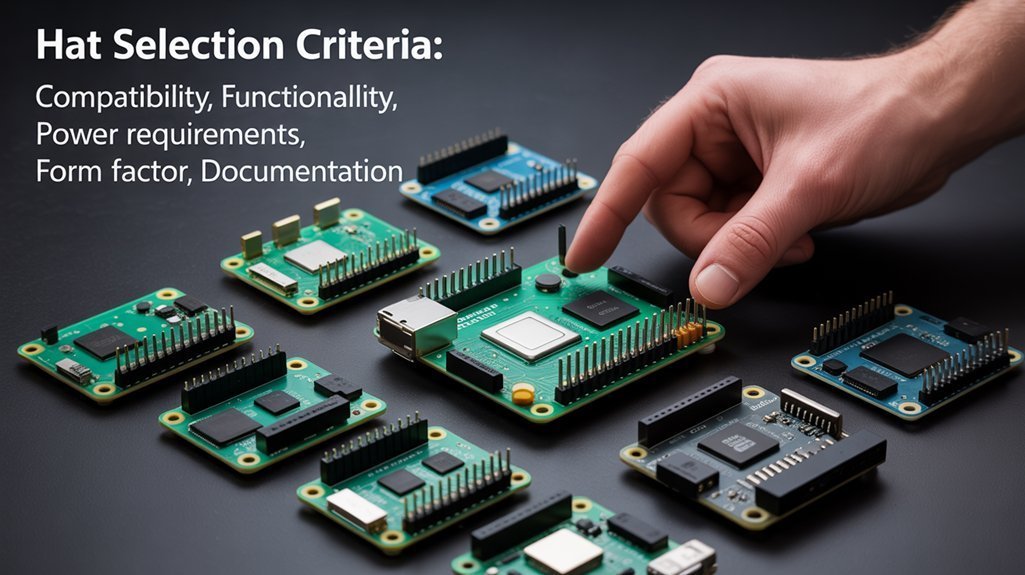
Five essential criteria determine whether a HAT will effectively integrate with your Raspberry Pi project. When selecting the best expansion board, evaluate these critical factors to guarantee seamless integration and functionality:
- Mechanical compatibility – Verify the HAT fits precisely on the 40-pin GPIO header with proper mounting holes and adequate spacing (8-16mm) to prevent shorts and accommodate additional components.
- Power requirements – Confirm the HAT provides sufficient current (minimum 2A recommended) if back-powering the Pi, or validate your power supply can handle the combined load of Pi plus HAT.
- EEPROM implementation – Choose HATs with proper ID EEPROM (address 0x50) for automatic configuration and reliable hardware recognition. Understanding the HAT specifications requires adherence to standardized GPIO connectors for full compliance.
- GPIO utilization – Review the pin mapping to avoid conflicts with essential Pi functions and guarantee signal compatibility with your project needs. Remember that pins 27 and 28 are restricted to EEPROM connections only in compliant HAT designs.
Setting Up and Programming Your First HAT
Successfully integrating a Raspberry Pi HAT requires a methodical approach that begins with proper preparation and setup. Start with a clean OS installation using Raspberry Pi Imager, ensuring you’ve enabled SSH for headless control if needed.
For HAT installation, power down your Pi completely before aligning the 40-pin connector and pressing it firmly into place. Check for any mechanical conflicts with other components and verify jumper settings. If you’re using the TV HAT specifically, you’ll need to ensure you’re in a region supporting DVB-T broadcast standards. Additionally, ensure that your power supply meets the 5V/3A requirement for stable operation.
After physical installation, you can use the official Raspberry Pi Imager to customize settings such as hostname and password for your device. Install required drivers using apt or provided scripts. Verify the HAT’s recognition through terminal commands like `lsmod` or `dmesg`.
For HAT programming, leverage Python libraries such as RPi.GPIO or gpiozero to access GPIO pins, or use specialized interfaces for I2C/SPI communication.
Test functionality using example scripts before developing your own applications, and monitor system logs for troubleshooting.
Advanced HAT Stacking Techniques for Complex Projects

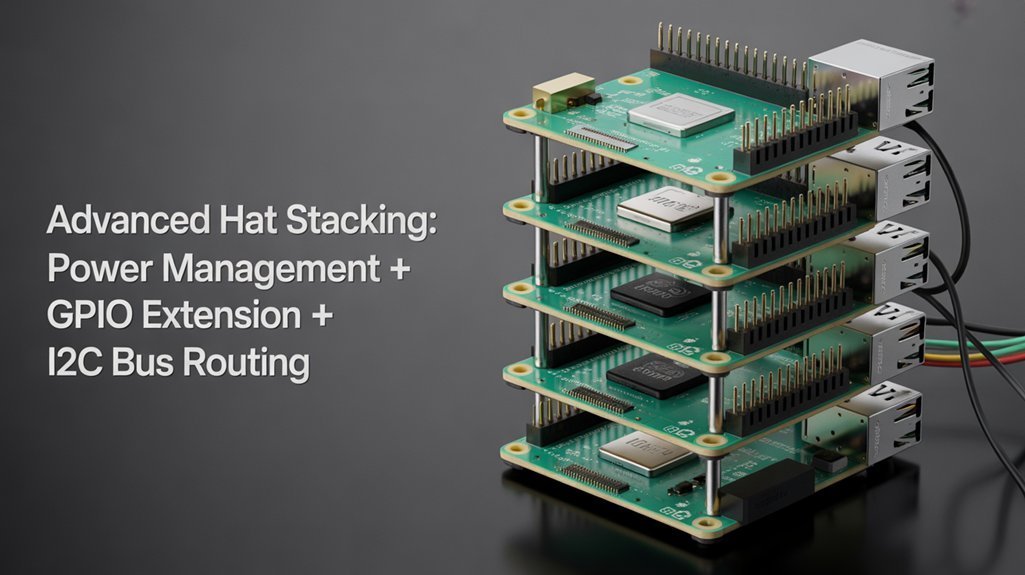
When tackling complex Raspberry Pi projects, stacking multiple HATs becomes a necessary skill that requires careful planning and execution.
Successful stacking demands attention to both physical construction and electrical integration, ensuring each component functions without interference. Additionally, utilizing remote GPIO access can significantly enhance the functionality of your stacked HATs by allowing control over GPIO pins from anywhere.
For ideal HAT stacking results:
- Use proper mechanical fasteners and stacking headers to create a secure physical connection, considering PiStack for projects requiring three or more boards.
- Configure unique I2C addresses through jumpers or solder bridges to prevent addressing collisions.
- Document and manage GPIO pin usage to avoid pin conflicts that could damage hardware.
- Implement custom software overlays when disabling EEPROMs, ensuring proper driver recognition despite non-standard configurations.
Master these techniques to dramatically expand your Pi’s capabilities while maintaining system stability. With the proper configuration, you can stack up to 62 HATs for nearly a thousand PWM outputs. Remember that the HAT+ standard offers greater flexibility for stacking configurations than older HAT specifications.
Frequently Asked Questions
Can Raspberry Pi HATs Drain Too Much Power From the Raspberry Pi?
Yes, Raspberry Pi HATs can drain excessive power from your Pi. Monitor power consumption carefully, as some HATs—especially PoE+ models—significantly increase system draw and may require additional voltage regulation components.
Are Raspberry Pi HATs Compatible With Non-Raspberry Pi Single-Board Computers?
You’ll face Raspberry Pi HAT compatibility issues with non-Pi boards due to different pin mappings, voltage levels, and driver support. Consider alternative expansion options designed specifically for your SBC’s architecture instead.
How Do I Troubleshoot HAT Detection or Initialization Failures?
Troubleshoot HAT detection or initialization failures by checking hardware issues first: verify proper pin alignment, power supply, and I2C bus configuration. Examine software drivers and device tree overlays for compatibility problems.
Can Raspberry Pi HATs Be Used With Custom-Designed 40-Pin Adapters?
Yes, you can use HATs with custom-designed 40-pin adapters if your adapter design maintains proper GPIO pin mapping, includes ID EEPROM circuitry, and respects electrical specifications required for HAT detection protocols.
What Safety Measures Prevent Damage When Installing Raspberry Pi HATs Incorrectly?
Like armor protecting a knight, safety protocols for HAT installation include power-off requirements, ID EEPROMs for identification, mechanical mounting holes, and voltage tolerance limits that prevent shorting your GPIO pins during connection.
How Will You Use a Raspberry Pi HAT on Your Next Project?
You’ve discovered how HATs expand your Pi’s potential, connect to critical sensors, and transform simple boards into powerful solutions. Whether you’re stacking multiple boards, connecting analog devices, or implementing custom control systems, HATs provide standardized interfaces, compact form factors, and plug-and-play functionality. Configure your EEPROM, validate your I2C connections, and reveal the full potential of Raspberry Pi’s GPIO ecosystem.
