Imagine building an automated plant watering system at age 11. Setting up your first Raspberry Pi begins with confusion but can end in triumph. You’ll face the same learning curve with your first Pi setup, but the process is more straightforward than it appears. From selecting the right model to configuring your OS, each step builds toward a functioning mini-computer that can power projects from home automation to retro gaming. The possibilities become endless once you’ve completed the initial configuration.
Key Takeaways
- Choose the right Raspberry Pi model based on your project needs and get essential components including power supply, microSD card, and case.
- Download Raspberry Pi Imager software and use it to write the Raspberry Pi OS onto your microSD card.
- Insert the prepared microSD card, connect peripherals, and power on your Pi for initial boot and configuration.
- Update your system with `sudo apt update && sudo apt full-upgrade` to ensure security and stability.
- Configure Wi-Fi, change default password, and install necessary software packages for your specific projects.
What Is a Raspberry Pi and Why You Might Want One
The Raspberry Pi, a remarkable innovation in the computing world, represents a complete computer system condensed into a credit card-sized board. This powerful device houses a multicore ARM processor (up to 2.4GHz), 1-8GB RAM, and thorough I/O options including HDMI, USB, and GPIO pins.
You’ll find its cost effectiveness unmatched compared to traditional computers while consuming minimal power. The versatility of Raspberry Pi applications spans from education to sophisticated robotics and IoT projects.
The Raspberry Pi delivers exceptional value with minimal power draw, enabling projects from classroom coding to advanced IoT implementations.
Schools leverage it for teaching programming fundamentals, while hobbyists create everything from home automation systems to media centers. The Raspberry Pi 4 Model B features a Quad core Cortex-A72 processor that delivers impressive performance for its size.
The newer Raspberry Pi 400 model integrates the computer directly into a keyboard with dual HDMI outputs supporting up to 4K resolution.
The thriving Raspberry Pi community offers extensive support for beginners and experts alike, providing countless resources for your projects.
Whether you’re exploring computing fundamentals or developing complex embedded systems, this compact powerhouse delivers exceptional value and flexibility.
Choosing the Right Raspberry Pi Model for Your Needs
When selecting a Raspberry Pi model, your specific project requirements should dictate your choice. For desktop computing or media centers, consider the Raspberry Pi 5 with its 2-3x CPU performance boost over Pi 4, featuring the Broadcom BCM2712 SoC with 2.4 GHz Cortex A76 cores.
Model performance varies greatly across the lineup. The Pi 4 offers 1GB, 2GB, or 4GB RAM configurations with quad-core A72 processors running at 1.5GHz, while Pi 5 provides 4GB and 8GB options with improved processing capabilities. The Pi 5 benefits from faster LPDDR4X-4267 SDRAM for enhanced multitasking performance.
For IoT applications, earlier models like Pi 3B+ or Pi Zero W suffice.
Connectivity needs also influence your decision—Pi 5 introduces PCIe expansion for NVMe storage, while Pi 4 provides dual micro-HDMI, Gigabit Ethernet, and USB 3.0.
Consider power requirements too; Pi 5 demands a 5V/5A supply versus Pi 4’s 5V/3A.
Essential Hardware Components and Accessories

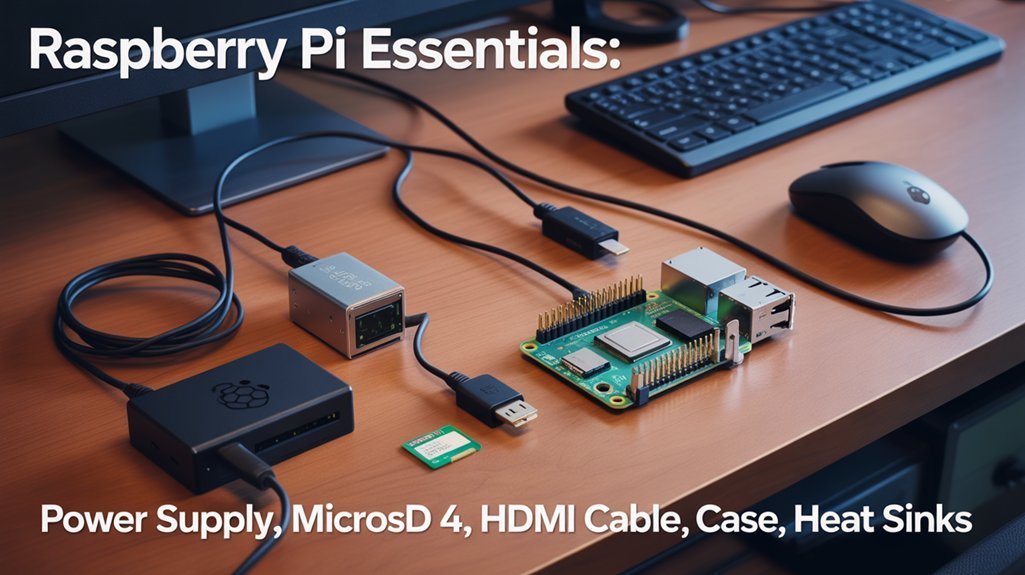
Setting up a Raspberry Pi requires gathering several essential components before you can power on your system.
For your Raspberry Pi 4, you’ll need a 5V/3A USB-C power supply to guarantee stable operation during resource-intensive tasks. Connect displays through the dual micro-HDMI ports supporting up to 4Kp60 resolution, and utilize the 3.5mm jack for audio output.
Among the Raspberry Pi essentials is the 40-pin GPIO header, which enables connectivity with sensors, motors, and other peripherals. These GPIO ports are crucial input/output connections for external hardware integration in your projects.
The 40-pin GPIO header serves as the Raspberry Pi’s gateway to physical computing, allowing seamless integration with countless electronic components.
The device’s integrated 802.11ac Wi-Fi and Bluetooth 5.0 provide wireless capabilities, while the Gigabit Ethernet port offers reliable wired networking.
Don’t forget essential accessories like a microSD card for storage, as there’s no onboard permanent memory. Consider investing in proper heat management solutions if you plan to run computationally demanding applications.
For expanded functionality, consider a PoE HAT to power your Pi through the Ethernet connection.
Preparing Your Microsd Card With Raspberry Pi OS
You’ll need to choose the appropriate Raspberry Pi OS image that matches your hardware capabilities and project requirements.
Raspberry Pi Imager offers the simplest approach to writing the OS to your MicroSD card, though alternatives like Etcher or dd command provide similar functionality. For optimal performance, use a Samsung PRO Endurance or similar high-quality microSD card that can withstand frequent read/write operations.
Before booting your Pi, you can create configuration files like wpa_supplicant.conf for Wi-Fi settings or enable SSH by placing an empty ssh file in the boot partition. When using Raspberry Pi Imager, you can access advanced options to configure preferences like hostname, SSH, and Wi-Fi settings before writing the OS.
Selecting the Right Image
Choosing the right Raspberry Pi OS image represents a critical first step in setting up your Pi, as this decision affects both the functionality and performance of your system.
For image compatibility, consider whether you need the full desktop environment or the more lightweight Lite version without a GUI. The 64-bit OS is recommended for Pi 4 models with 4GB RAM or more to maximize performance considerations.
Your intended use case should guide your selection—desktop environments for general computing tasks, while Lite versions excel for headless servers or embedded projects. The official Raspbian Jessie-PIXEL option offers enhanced graphical appearance with improved icons and toolbars for a better user experience.
All official images are available from raspberrypi.org or directly through the Raspberry Pi Imager tool, which streamlines the download and writing process. The Raspberry Pi Imager utility automatically downloads the latest version available when you select your desired OS.
Remember that Class 10 UHS-1 cards or better will guarantee excellent system performance once your chosen OS is installed.
Imaging Software Options
Once you’ve selected your Raspberry Pi OS image, you’ll need reliable software to write it to your microSD card. The Raspberry Pi Imager stands out as the ideal choice, offering seamless integration with official OS releases and advanced customization options before first boot.
Install Raspberry Pi Imager from raspberrypi.com or via package managers (sudo apt install rpi-imager on Debian systems). The application streamlines the imaging process by directly streaming OS files to your card without intermediate downloads, while caching images for future use. Raspberry Pi Imager was specifically designed to reduce complexities associated with obtaining and installing OS images. Be sure to select an appropriate microSD card with at least 32GB for a full Raspberry Pi OS installation or 16GB for OS Lite.
While balenaEtcher provides a viable alternative with cross-platform support and simplicity, Raspberry Pi Imager’s device-specific optimization and pre-boot configuration capabilities deliver superior functionality.
Power users can access additional features through the hidden advanced options menu in version 1.6+.
Pre-Boot Configuration Files
After selecting your preferred OS image, properly preparing the microSD card becomes the critical next phase for your Raspberry Pi setup. The boot partition (FAT32) allows you to modify key configuration files before first boot, enabling pre-boot customization without connecting peripherals. The writing process can take anywhere from a few minutes to half an hour depending on your SD card speed. When writing issues occur, you might receive a verification error that requires trying a different card reader or USB port.
| Configuration File | Purpose | Implementation Method |
|---|---|---|
| `ssh` | Enables SSH service | Create empty file in boot partition |
| `config.txt` | Hardware settings | Edit parameters directly |
| `cmdline.txt` | Boot parameters | Modify kernel arguments |
| `wpa_supplicant.conf` | Wi-Fi settings | Add network credentials |
| Advanced settings | Complete pre-boot setup | Use Ctrl+Shift+S in Raspberry Pi Imager |
For headless setups, ssh activation is essential—simply create a blank file named “ssh” in the boot partition. The Raspberry Pi Imager’s advanced settings menu (Ctrl+Shift+S) streamlines this process by configuring hostname, credentials, and networking before writing the image.
First-Time Boot and Basic Configuration
When you power up your Raspberry Pi for the first time, you’ll need to complete several essential configuration steps to guarantee proper functionality. Connect keyboard, mouse, and monitor before powering up, as the boot sequence begins with the GPU initializing, followed by a series of bootloaders that ultimately launch the kernel. During this process, the system checks boot devices according to priority settings.
Initial Raspberry Pi setup requires careful configuration, beginning with the GPU and progressing through bootloaders to kernel launch.
For desktop setups, the Welcome wizard automatically launches, guiding you through country, language, and timezone selection, plus password changes.
For headless configurations, you’ll perform manual configuration via the terminal using `raspi-config` or command-line tools. You can optimize camera streaming by enabling hardware JPEG encoding in the VNC settings.
After initial setup, always run system updates with `sudo apt update && sudo apt full-upgrade` to confirm security and stability.
Check bootloader and EEPROM firmware versions to maintain peak performance, and remove unneeded sample content to keep your system tidy.
Connecting to Wi-Fi and Networking Your Pi

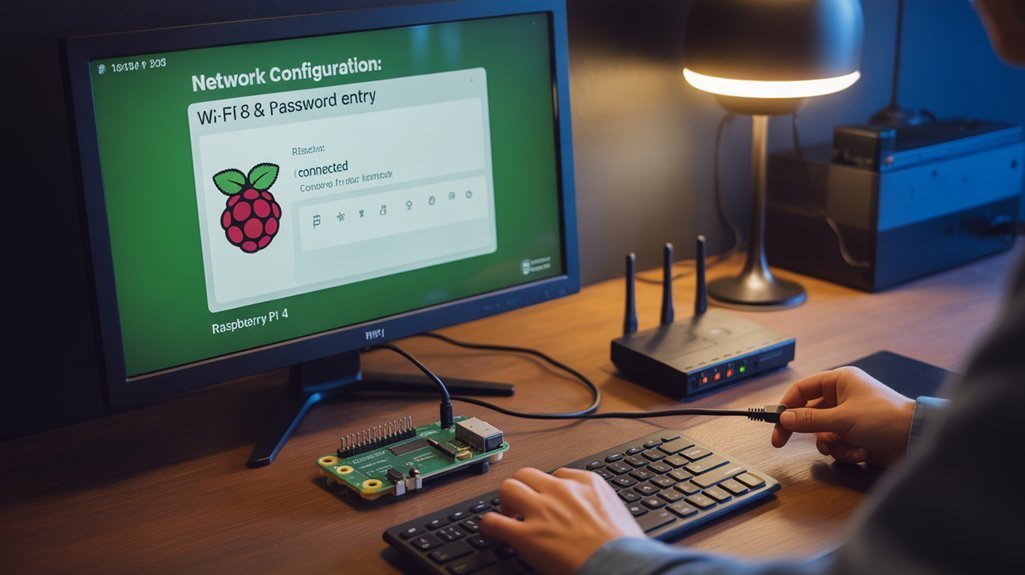
Connecting your Raspberry Pi to a network represents an essential step in accessing its full potential as both a standalone computer and an IoT device. You can establish Wi-Fi connectivity through three primary methods: desktop interface, raspi-config utility, or headless configuration.
For desktop users, simply click the Wi-Fi icon in the taskbar, select your network, and enter your password. Models from Pi 3 Model B and newer have built-in WiFi capabilities, while older models require USB adapters.
If you’re using command-line, run `sudo raspi-config` and navigate to wireless settings.
For headless setups, create a wpa_supplicant.conf file containing your network credentials. You can also configure WiFi during installation using the Raspberry Pi Imager with advanced options accessible via Ctrl+Shift+X.
Verify your connection using `ifconfig` or `ip a` commands. Common Wi-Fi troubleshooting steps include checking signal strength, verifying the correct country code, and enabling the Wi-Fi radio with `nmcli radio wifi on`.
Always prioritize network security by using WPA2/WPA3 encryption for your connections.
Updating Your System and Installing Essential Software
Once you’ve connected your Pi to the network, you’ll need to update your system to guarantee security and peak performance.
Run `sudo apt update && sudo apt full-upgrade` in the terminal to fetch package information and install the latest versions of all software.
For optimal system functionality, you might need to reinstall kernel headers using the command `sudo apt install raspberrypi-kernel-headers`.
After rebooting with `sudo reboot`, you can install essential tools like text editors (nano, vim), version control (git), and system monitoring utilities (htop) using the `sudo apt install` command.
It’s recommended to regularly perform system cleanups using commands like `sudo apt autoremove` and `sudo apt clean` to maintain optimal performance.
System Updates First
Before diving into your Raspberry Pi projects, it’s crucial to certify your system is fully updated with the latest software and security patches.
Start by securing your data with a backup and checking available disk space using `df -h` as part of proper system maintenance tips.
Refresh your package lists with `sudo apt update`, then apply all updates using `sudo apt full-upgrade`. Understanding update consequences is critical—major version upgrades should be done by creating a new SD card image rather than in-place updates.
For firmware management, use `sudo rpi-eeprom-update` to verify your bootloader is current.
After updating, always reboot with `sudo reboot` to verify changes take effect.
Regular updates prevent security vulnerabilities and maintain peak performance for your innovative projects.
Package Manager Basics
The Raspberry Pi’s package management system serves as your gateway to thousands of free software packages ready for installation. Understanding package management essentials will empower you to customize your Pi efficiently. Before installing anything, always update your system with `sudo apt update` to refresh your package lists.
| Command | Function | Impact |
|---|---|---|
| `sudo apt-get install` | Adds new software | Expands capabilities |
| `sudo apt-get remove` | Deletes packages | Frees system resources |
| `sudo apt-get upgrade` | Updates all software | Enhances security |
For Python enthusiasts, use `pip3 install` to access specialized libraries. Need a graphical interface? Try Synaptic Package Manager or the built-in “Add/Remove Software” tool. These install/remove commands form the foundation of your Pi customization journey.
Recommended Starter Tools
After setting up your Raspberry Pi hardware, you’ll need to update your system and install essential software to maximize functionality and security. The recommended starter tools extend beyond just the essential peripherals like microSD cards and power supplies.
- Run `sudo apt update` and `sudo apt full-upgrade` commands immediately after first boot to apply security patches and software updates.
- Install VNC server for convenient remote desktop access when managing your Pi without dedicated peripherals.
- Add Samba for seamless file sharing with Windows networks, enabling cross-platform project development.
- Configure SSH early to enable headless operation, particularly useful for IoT projects or when physical access is limited.
Use the built-in Recommended Software application to easily install these tools without complex command-line operations.
Headless Setup: Using Your Pi Without a Monitor
Setting up your Raspberry Pi without a monitor, keyboard, or mouse—known as a headless setup—offers a practical solution for projects where physical peripherals aren’t necessary or available.
To facilitate headless operation, prepare your SD card with Raspberry Pi OS Lite, then create two critical files in the boot partition: an empty file named `ssh` (with no extension) and a `wpa_supplicant.conf` file containing your WiFi credentials.
After powering up your Pi, connect via SSH using either `raspberrypi.local` or its IP address. Windows users may need Bonjour Print Services for hostname resolution.
Login with default credentials (username: `pi`, password: `raspberry`), then immediately run `sudo raspi-config` to change your password and hostname.
Complete the setup with `sudo apt update && sudo apt upgrade` to guarantee your system has the latest security updates for reliable remote access.
Common Troubleshooting Tips for New Users

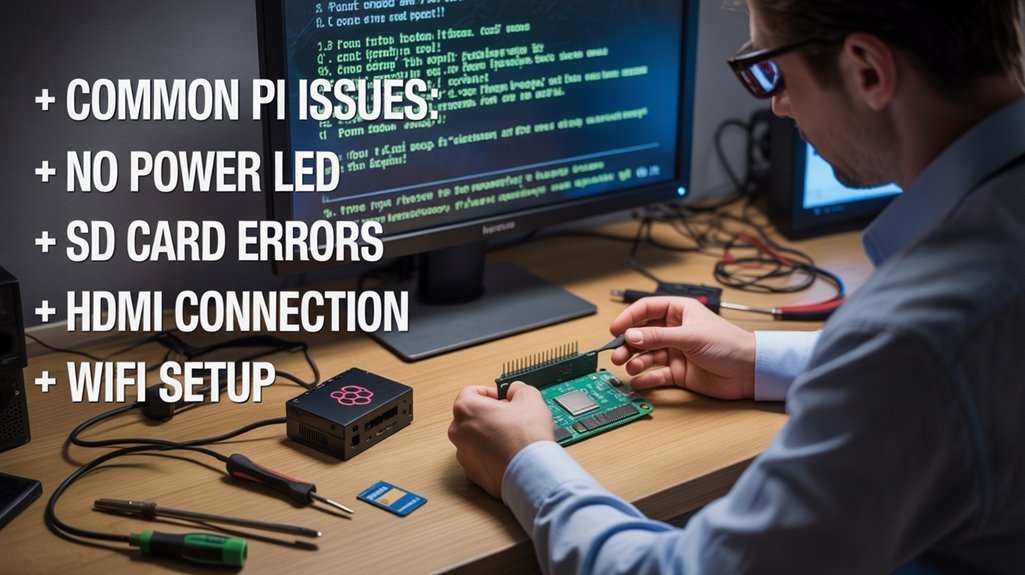
Even with careful preparation, you may encounter challenges during your Raspberry Pi setup that require troubleshooting. Understanding common issues will help you diagnose and resolve problems quickly.
1. Power Supply Concerns – Verify your PSU matches your Pi model’s requirements (5V/2.5A for Pi 3B+, 5V/3A for Pi 4B+): A flashing rainbow screen or lightning bolt icon indicates insufficient power.
2. Display Issues – Check HDMI connections, use the correct port on Pi 4, and verify monitor settings: Poor power can also cause display problems.
3. Boot Problems – Test if removing the SD card produces the expected LED blink pattern: Format your card correctly and verify boot files aren’t corrupted.
4. GPIO Safety – Use a multimeter to check voltage levels before connecting components and avoid touching 5V pins to prevent damage.
Frequently Asked Questions
Can I Run Windows on My Raspberry Pi?
You can install Windows ARM on Pi 4+ with 2GB+ RAM, but you’ll face performance limitations, unstable operation, and no official support. Consider Linux alternatives for better results.
How Much Power Does a Raspberry Pi Typically Consume?
Your Raspberry Pi’s power consumption varies markedly by model. The Pi Zero uses ~0.3W idle, while Pi 4 consumes 2.5-5W normally, reaching 15.3W under load. Effective power management enhances energy efficiency for IoT innovations.
Is It Possible to Overclock My Raspberry Pi Safely?
Yes, you can safely overclock your Pi within specific overclocking limits while monitoring temperatures. Guarantee adequate cooling through heatsinks or fans to prevent thermal throttling. Incremental adjustments with stability testing maximize performance without hardware damage.
Can Raspberry Pi Replace My Desktop Computer Completely?
No, your Raspberry Pi can’t fully replace a desktop computer. Its capabilities suit light computing, programming, and IoT projects, but it lacks the processing power for intensive multitasking or professional desktop alternatives.
How Do I Connect Multiple Raspberry Pis Together?
Like busy bees in a digital hive, you’ll connect multiple Raspberry Pis through various network configurations—using Ethernet, Wi-Fi, or both—and implement communication protocols like SSH for seamless device interaction and management.
You’ve Setup Your First Raspberry Pi: Now What?
You’ve now navigated the full journey of setting up your Raspberry Pi, from selection to configuration. Like planting a digital seed, you’ve established a foundation for countless projects ahead. Remember to keep your system updated and consult the official documentation when challenges arise. With your Pi properly configured, you’re ready to explore the vast ecosystem of hardware projects and programming possibilities at your fingertips.
