If you’re gearing up to explore the versatile world of Raspberry Pi, NOOBS (New Out Of Box Software) offers the simplest path to get started. This installer helps you set up your preferred operating system with minimal technical knowledge. You’ll need just a few basic components and about 30 minutes to install NOOBS on Raspberry Pi. Doing so can transform that bare microSD card into a fully functional system. Follow these straightforward steps to release your Raspberry Pi’s potential and launch your first project today.
Key Takeaways
- Format an 8GB+ Class 10 microSD card to FAT32 using SD Formatter or a similar tool.
- Download NOOBS from the official Raspberry Pi website and extract all files.
- Copy all extracted files directly to the root of your formatted microSD card.
- Insert the card into your Pi, connect peripherals, and power it up.
- When NOOBS loads, select your preferred operating system and follow the on-screen installation instructions.
What Is NOOBS and Why Use It?
When exploring Raspberry Pi options, you’ll encounter NOOBS (New Out Of the Box Software), the official installer developed by the Raspberry Pi Foundation. This user-friendly platform eliminates the complexity of manual OS preparation, offering an intuitive interface ideal for beginners.
NOOBS benefits include simplified initial setup without requiring disk imaging tools, allowing you to select and install your preferred operating system directly from a streamlined menu. Among its key NOOBS features are recovery mode capabilities for system maintenance, the ability to download OS versions on demand, and support for multiple operating systems on a single microSD card. This software pairs perfectly with the Raspberry Pi’s ARM-based processors for optimal performance.
You can easily reinstall or switch between systems without external devices, making experimentation effortless. NOOBS supports installation of popular systems like Raspbian and Arch Linux for your Raspberry Pi projects. This flexibility empowers you to focus on innovation rather than technical setup hurdles.
Required Hardware and Materials
You’ll need several key components to successfully install NOOBS on your Raspberry Pi, beginning with an 8GB (minimum) Class 10 microSD card for storing the operating system.
Your Raspberry Pi setup requires the board itself, a compatible power supply unit delivering at least 1A, and essential display connections including an HDMI cable and monitor.
Connection peripherals including a USB keyboard, mouse, and either an Ethernet cable or Wi-Fi capability will allow you to navigate the installation interface and download necessary files. For this guide, you’ll specifically need a Raspberry Pi 3B+ model to follow the installation steps accurately. The total setup process takes approximately 1.5-2 hours depending on your computer speed and familiarity with the process.
Essential SD Card Specifications
Before installing NOOBS on your Raspberry Pi, selecting the appropriate microSD card is critical for maximum performance and reliability. You’ll need a microSDHC or microSDXC card, as full-size SD cards won’t fit newer Pi models.
Choose a Class 10 card or better, preferably with U3, V30, or A1 speed classifications. Avoid A2 cards due to compatibility issues. For best performance, look for cards supporting DDR50 or SDR104 bus speeds. Cards with command queuing support will boost random read/write operations.
Capacity-wise, get at least 8GB for basic installations, but 32GB is recommended for flexibility. Make certain your card is formatted as FAT32, not exFAT.
Always verify authenticity using tools like H2testw or F3 to avoid counterfeit cards that might corrupt your data. Official Raspberry Pi microSD cards come pre-programmed with OS in sizes from 32GB to 128GB. Some users prefer using PINN installation instead of NOOBS as it offers improved multi-boot functionality and is more actively maintained.
Raspberry Pi Components
A successful NOOBS installation requires specific hardware components centered around your Raspberry Pi board. You’ll need a compatible microSD card (8GB minimum), a stable 5V/3A power supply via USB-C for Pi 4 models, and a display with micro-HDMI connectivity.
Essential Raspberry Pi accessories include a USB keyboard and mouse for maneuvering through the NOOBS interface during setup. H suffix Raspberry Pi models come with pre-soldered GPIO headers which simplifies the connection process for beginners.
For network-connected installations, utilize either the built-in Wi-Fi capabilities or the Gigabit Ethernet port found on Model B boards. The Pi 4 supports both 2.4 GHz and 5.0 GHz IEEE 802.11ac wireless standards for flexible connectivity options.
Your Raspberry Pi features will vary depending on the model—whether you’re using the Pi 4 with its quad-core Cortex-A72 processor or the newer Pi 5 with enhanced performance.
All modern boards include the standard 40-pin GPIO header, allowing future expansion with sensors and modules after your system is operational.
Connectivity Tools Needed
Having covered the Raspberry Pi board itself, let’s look at what you’ll connect to it for a successful NOOBS installation.
You’ll need an HDMI cable to connect your Pi to a monitor or TV, ensuring visual feedback during setup. For input, connect a USB keyboard and mouse—wireless options work if they’ve USB receivers.
USB connections are critical; without them, you can’t navigate the installation process. Internet access isn’t mandatory for initial NOOBS setup but becomes essential if you’re downloading OS images directly. NOOBS offline capability allows you to install operating systems without an internet connection if you’ve pre-downloaded the images.
Connect via Ethernet cable for reliability, or configure Wi-Fi later. Power your Pi with a proper supply—micro USB for older models, USB-C for newer ones—rated at least 2.5A to prevent voltage drops that could corrupt your installation. Ensure your monitor is connected to the correct HDMI port as different Pi models use different types.
Stability during installation is paramount.
Downloading the Latest NOOBS Package
You’ll need to download the NOOBS package from Raspberry Pi Foundation’s official website to guarantee you’re getting a legitimate, uncompromised version.
After downloading, verify the file integrity by checking its size matches the expected value or by using checksum verification if provided.
NOOBS comes in two versions: Full (containing offline installers) and Lite (requiring network access during setup), so select the appropriate version based on your installation environment. The Standard version is recommended for beginners as it includes pre-packaged operating systems like Raspbian and LibreELEC. The latest NOOBS version can be downloaded directly from https://downloads.raspberrypi.org/NOOBS_latest.
Finding Official Sources
Downloading the official NOOBS package requires accessing trusted repositories to guarantee security and reliability.
You’ll find the software on the official website of Raspberry Pi, where it’s available in two primary formats: NOOBS Full (containing Raspberry Pi OS and LibreELEC) and NOOBS-Lite (without pre-installed operating systems).
For convenience, you can purchase pre-installed options from authorized distributors like GeeekPi, Adafruit, and pi hub.
The software supports both zip and torrent download formats, accommodating various connection speeds and preferences.
If you’re technically inclined, access the GitHub repository to view source code or contribute to development.
The latest version available for download is NOOBS v2.4.5 which was released on November 29, 2017.
NOOBS requires an SD card with at least 8GB capacity to ensure proper installation and functionality.
Verifying File Integrity
The integrity of your NOOBS package is vital before proceeding with installation on your Raspberry Pi. After downloading from the official Raspberry Pi Foundation website or GitHub repository, perform hash verification using tools like `sha256sum` to compare your file’s hash value with the published checksum.
Check that the file size matches the expected size from official sources. This comparison guarantees you’re working with an authentic, uncorrupted package. If discrepancies appear during the file comparison process, redownload the package immediately.
Once verification is complete, extract the zip file to a secure location. This precautionary step prevents potential issues during installation.
Remember that corrupted files can lead to installation failures or unstable systems, making this verification step essential for your Raspberry Pi’s best performance. The verification process is especially important since NOOBS allows you to overwrite corrupted SD cards during setup. For optimal performance, download the latest v3.8 release that was recently made available by the Raspberry Pi development team.
Formatting Your SD Card Properly

Proper SD card formatting serves as the foundation for a successful NOOBS installation on your Raspberry Pi.
Proper formatting of your SD card creates the essential groundwork for NOOBS to function correctly on your Pi.
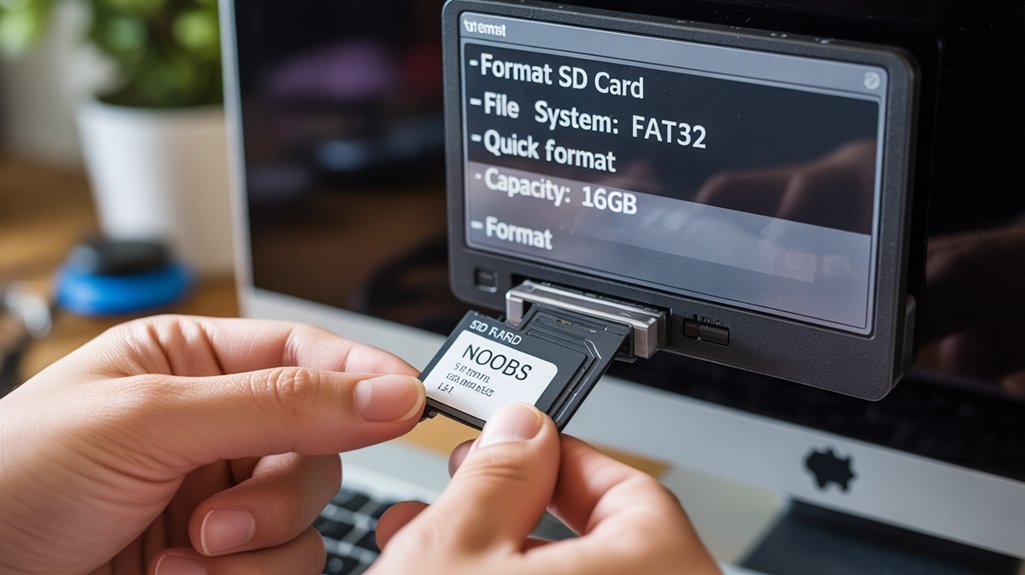
You’ll need to format your card as FAT32, which the Pi’s bootloader recognizes. For cards 32GB or smaller, right-click the drive in Windows Explorer and select “Format,” choosing FAT32.
For larger cards (typically SDXC), you’ll need specialized formatting techniques since Windows defaults to exFAT, which won’t boot NOOBS directly. Use tools like EaseUS Partition Master or Raspberry Pi Imager’s “Erase” function to properly format large cards. Mac users can easily format their SD cards using Disk Utility by selecting the card and clicking Erase. You can also use the Mac Terminal and diskutil command to format your SD card with precise control.
Formatting warnings: Always back up any important data first, as formatting permanently erases everything.
Complete partition removal is essential—use Disk Management or DISKPART to clean all existing partitions before reformatting to avoid installation conflicts.
Transferring NOOBS Files to SD Card
Once you’ve properly formatted your SD card, it’s time to transfer the NOOBS files that will serve as your Raspberry Pi‘s operating system foundation.
Download the NOOBS ZIP file (approximately 1GB) from the official Raspberry Pi website, then extract all contents using your system’s built-in tools.
Proper file organization is critical—ensure you’re copying the individual files inside the extracted folder, not the parent folder itself.
Copy everything directly to the SD card’s root directory using drag-and-drop or command-line transfer methods like `cp` or `rsync`.
Verify your transfer by confirming essential files like ‘recovery.cmdline’ and the ‘os’ folder are present.
Always safely eject the SD card after copying to prevent data corruption before inserting it into your Raspberry Pi.
The download process may take around 20 minutes to complete depending on your internet speed.
When booting up with NOOBS for the first time, you’ll be prompted to select your preferred operating system and complete the partition scheme setup.
Setting Up Your Raspberry Pi Hardware

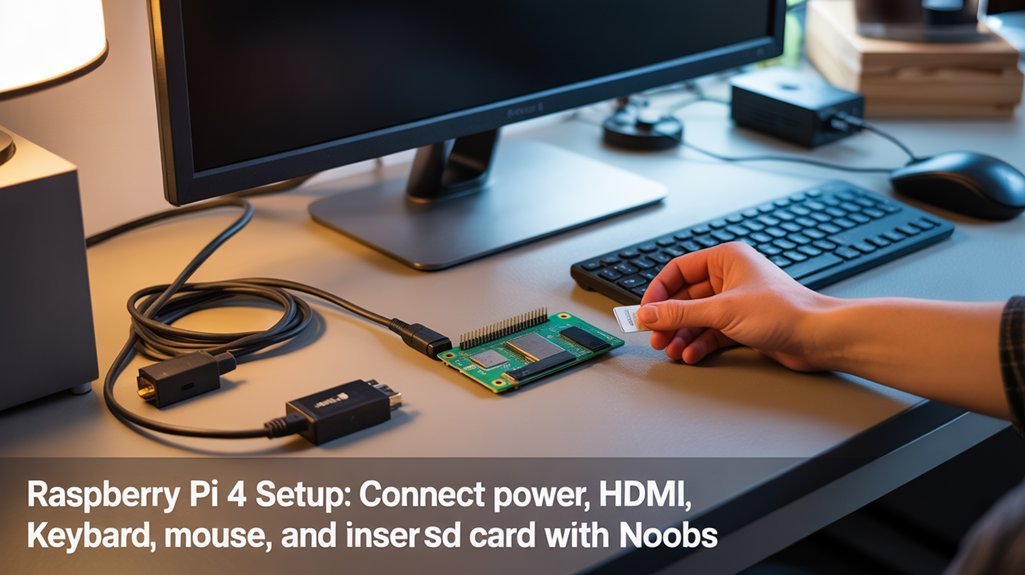
Before inserting your prepared SD card, you’ll need to assemble your Raspberry Pi hardware properly. Confirm hardware compatibility by following these assembly instructions in sequence to prevent damage to components.
| Connection | Order |
|---|---|
| HDMI Cable | Connect to monitor first |
| USB Peripherals | Attach keyboard and mouse |
| Ethernet/Wi-Fi | Set up networking connection |
| Power Supply | Connect last (5.1V/2.5A) |
Position your Pi on a non-conductive surface with adequate ventilation to prevent overheating. Ground yourself before handling components to eliminate static electricity risks. Organize cables neatly to improve airflow and accessibility.
Once connections are secure, you’re ready to insert your NOOBS-formatted microSD card while the device remains powered off. This sequential approach guarantees ideal performance during first boot.
Booting Up and Installing an Operating System
The pivotal stage of your Raspberry Pi setup begins after hardware assembly: booting up with your NOOBS-loaded SD card.
The critical moment arrives when your assembled Pi first boots from its NOOBS card, launching your DIY computing journey.
Insert the microSD card into your Pi’s slot, connect your HDMI monitor, keyboard, and mouse, then power up the device. Your Pi will automatically initiate the booting process, launching the NOOBS interface.
Within this interface, you’ll encounter operating system selection options. If you’ve installed the complete NOOBS version, Raspbian and Libreelec appear immediately.
For NOOBS Lite users, make certain your internet connection is active to view available systems.
Select your preferred OS, then follow the on-screen installation prompts. Installation time varies by selection.
After completion, configure your language and network settings.
Perform a system update to secure the latest patches, then verify all hardware components are properly recognized.
Post-Installation Configuration Steps

After successfully installing your chosen operating system through NOOBS, you’ll need to complete several essential configuration steps to optimize your Raspberry Pi’s performance and security.
Begin with system updates by running `sudo apt-get update` followed by `sudo apt-get upgrade` to ascertain all packages are current.
For networking, enable SSH if remote access is needed, or configure WiFi settings through the NOOBS “Edit Settings” button before first boot.
Post installation tweaks should include customizing locale, time zone, and keyboard layout to match your preferences.
For system optimization, consider setting up auto-login options, configuring startup applications, and adjusting display resolution for your specific monitor.
Finally, create a backup image of your configured system to quickly restore or replicate your setup when needed.
Common Troubleshooting Tips
When installing NOOBS on your Raspberry Pi, you’ll likely encounter some common obstacles that can interrupt the setup process. Understanding LED signals and addressing format errors can quickly resolve installation failures. Always use the SD Association’s official formatter tool rather than native OS tools to prepare your card properly.
| Issue Type | Troubleshooting Steps |
|---|---|
| Power Problems | Blinking red LED indicates insufficient voltage; use 2.5A+ power supply |
| SD Compatibility | Confirm 8GB+ card from reputable brand; verify proper insertion |
| Format Errors | Format with MBR scheme; extract files to root directory |
| File Corruption | Verify checksum; download latest NOOBS image; check for blinking green LED |
Monitor your Pi’s LED indicators during boot—a blinking green light suggests card maintenance is needed, while persistent red indicates power issues requiring immediate correction.
Frequently Asked Questions
Can I Run Multiple Operating Systems Simultaneously With NOOBS?
No, you can’t run multiple operating systems simultaneously with NOOBS. It offers operating system management through a boot menu, but performance considerations limit execution to one OS at a time.
Does NOOBS Work With All Raspberry Pi Models?
Yes, NOOBS embraces all Pi models with gleeful abandon! Your device’s operating system compatibility depends on specific hardware requirements, with newer models offering full functionality while older ones may face certain limitations with advanced features.
How Long Does a Typical NOOBS Installation Take?
Your NOOBS installation time varies markedly based on performance factors including SD card speed, Pi model, and network conditions. You’ll typically experience 15-30 minutes for completion.
Can I Update NOOBS Without Reinstalling Everything?
You can’t directly update NOOBS itself without reflashing. Consider using PINN, a NOOBS fork, which enables upgrading without reinstalling everything during your installation process. Recovery mode only updates OSes.
Will NOOBS Work With Touchscreens or Headless Setups?
NOOBS supports touchscreen compatibility with official Pi displays, though some third-party screens need custom drivers. It’s not designed for headless configuration; you’ll need to enable SSH/VNC after installation for remote access.
Conclusion
You’ve now mastered the infinitely complex art of NOOBS installation on your Raspberry Pi. With your meticulously formatted SD card containing the precise file architecture required, you’ll experience lightning-fast boot times that’ll make conventional computers seem prehistoric. Remember to follow the exacting post-installation steps we’ve outlined to guarantee peak system performance. Should you encounter any anomalies, refer to our thorough troubleshooting section for immediate resolution.
