You’ll face a critical decision when you power a Raspberry Pi: stability versus portability. USB power supplies offer convenience with regulated 5V output, while battery solutions provide freedom from wall outlets. Your choice impacts everything from processing performance to hardware longevity. Insufficient power leads to voltage drops, causing random crashes and SD card corruption. The right power solution isn’t just about keeping your Pi running—it’s about protecting your entire project investment.
Key Takeaways
- Raspberry Pi 4 requires a regulated 5V/3A supply, while Pi 5 needs 5V/5A for stable operation.
- Official USB-C power supplies provide optimal voltage regulation and protection against electrical anomalies.
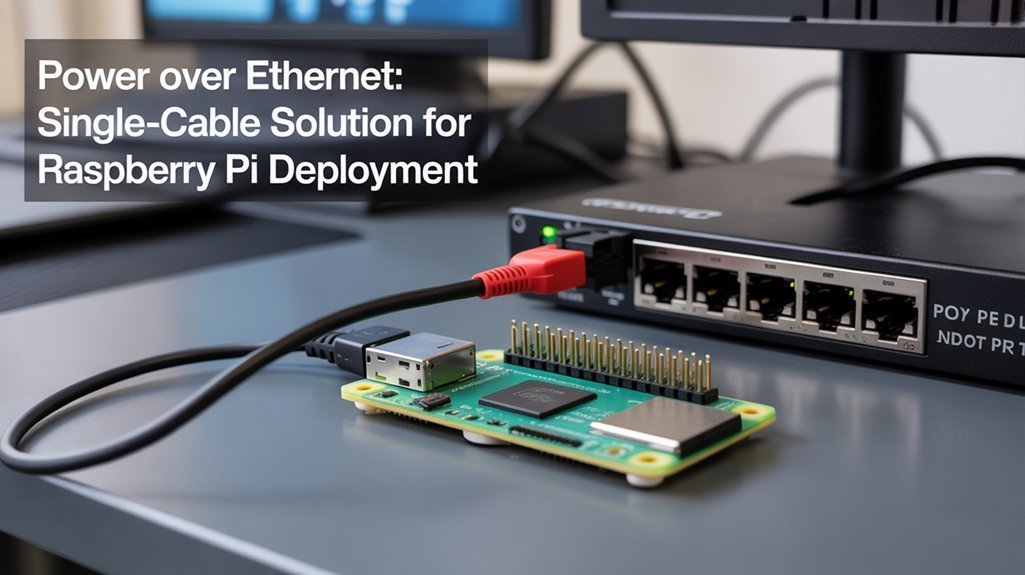
- Power over Ethernet (PoE) enables single-cable power and data transmission for simplified Pi deployments.
- Battery-powered setups require DC-DC converters to maintain stable 5V with approximately 90% efficiency.
- Disable non-essential interfaces and consider underclocking to extend battery life in portable applications.
Understanding Raspberry Pi Power Requirements
When powering a Raspberry Pi, understanding its specific electrical requirements is essential for ensuring ideal performance and stability. Your Pi requires a regulated 5V supply that stays within 4.75V to 5.25V for proper operation, with voltage stability being critical to prevent system errors. Current requirements vary greatly by model—Pi 4 needs 3A while the Pi 5 demands 5A due to its advanced components. The Pi 5 shows significantly increased power requirements compared to previous models. Power consumption ranges from 4-5W idle to 12W under load for the Pi 5, making the power supply a critical component for effective operation. Insufficient current will trigger protection circuits that limit power to peripherals, potentially causing boot failures.
Precise voltage regulation between 4.75V-5.25V is non-negotiable for reliable Pi operation and system integrity.
Remember that connecting peripherals increases your power budget considerably. The official power supplies deliver >80% efficiency, minimizing heat and energy waste. The Raspberry Pi official power supply provides 5.1V output specifically designed for optimal performance with Pi 4 and 400 models.
Avoid generic adapters that can introduce voltage ripple and potentially damage your sensitive components.
Choosing the Right USB-C Power Supply
Selecting the correct USB-C power supply forms the foundation of a reliable Raspberry Pi setup. Your Pi requires specific power profiles—minimum 3A at 5.1V for Pi 4, up to 5A for Pi 5.
Official Raspberry Pi supplies deliver precise ±5% load regulation with minimal voltage fluctuation, preventing the dreaded undervoltage warnings.
For ideal performance, match wattage to your model: 15W for basic Pi 4 setups, 27W for Pi 5, and 45W when powering peripheral-heavy configurations. The official Raspberry Pi USB-C power supply offers 15W power output specifically designed for Raspberry Pi 4 Model B and Raspberry Pi 400 devices. The official Raspberry Pi 5 USB-C adapter delivers 27W maximum power through Power Delivery technology. The PD-enabled supplies negotiate dynamically with your Pi 5, adjusting current limits as needed.
Consider cable specifications too—the 18AWG wire in official supplies minimizes voltage drops over the 1.5m length.
Power supply compatibility extends beyond amperage; protection features safeguard your investment from electrical anomalies.
Power Over Ethernet (PoE) Solutions for Network Deployment

Power Over Ethernet (PoE) revolutionizes Raspberry Pi deployments by transmitting both data and power through a single Cat5e/Cat6 cable. This approach offers significant PoE advantages for networked Pi devices, eliminating separate power supplies while providing centralized power management. The technology ensures no bandwidth loss while delivering both power and network connectivity simultaneously. Two primary PoE implementation methods include utilizing a PoE HAT or a splitter adapter. Additionally, the Raspberry Pi’s built-in connectivity components, such as Wi-Fi and Bluetooth, enhance its versatility in networked applications.
| Component | PoE Standard | Power Output |
|---|---|---|
| Basic PoE HAT | IEEE 802.3af | 13W |
| PoE+ HAT | IEEE 802.3at | 25W |
| Pi 4 Requirement | – | 15.3W (5.1V/3A) |
| Cat5e Cable | Both | Minimal loss |
| PoE Switch/Injector | Either | Per-port control |
For ideal PoE compatibility, verify your Raspberry Pi model (3B+ or 4) has the required 4-pin connector. The PoE+ HAT offers superior performance for power-hungry applications like Pi clusters or setups with multiple peripherals while working with existing PoE infrastructure.
Battery Power Options for Portable Projects
Mobility represents a primary advantage of Raspberry Pi projects, with battery power enabling truly untethered operation away from wall outlets. Selecting ideal battery chemistry directly impacts runtime and power efficiency. Lead-acid options deliver extended operation (21-54 hours from 12V/7-18Ah batteries), while lithium-based powerbanks offer portability at the cost of capacity. Raspberry Pi projects can also leverage affordable hardware for various applications.
To maximize your portable Pi deployment:
- Calculate required watt-hours by multiplying your Pi’s consumption (typically 4W) by desired runtime.
- Implement DC-DC switching converters to maintain stable 5V while achieving ~90% conversion efficiency.
- Match connector ratings to your Pi’s current demands (up to 3A for Pi 4).
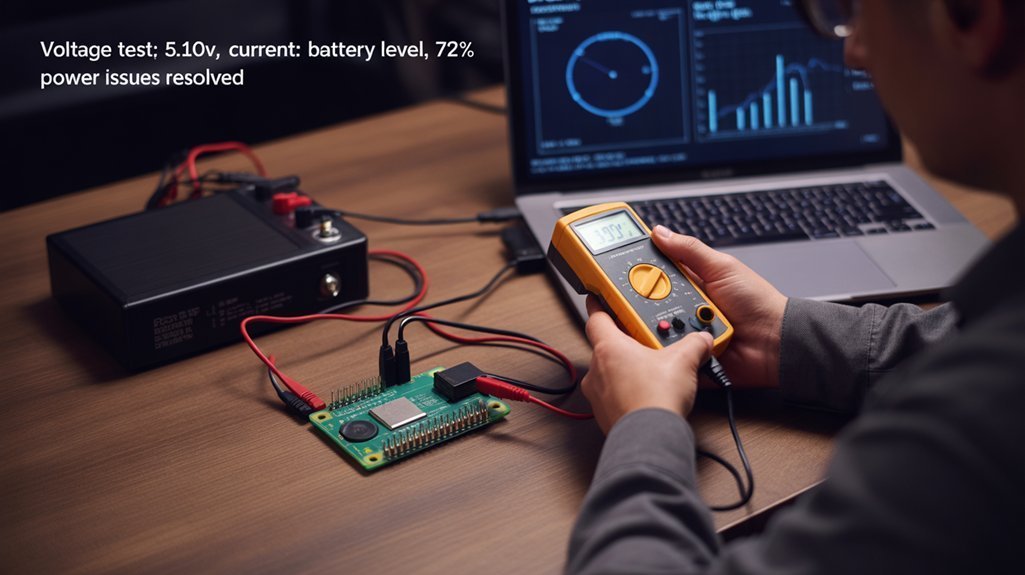
- Monitor voltage levels during operation to prevent undervoltage warnings.
For multi-day deployments, deep-cycle lead-acid batteries excel, while NiMH packs suit shorter mobile applications requiring lighter weight. Raspberry Pi Zero models can achieve exceptional battery longevity up to 187 hours on a single charge under low-load conditions. Disconnecting unnecessary peripherals like HDMI and USB devices can significantly reduce power consumption and extend battery life.
Cable Quality and Its Impact on Power Stability

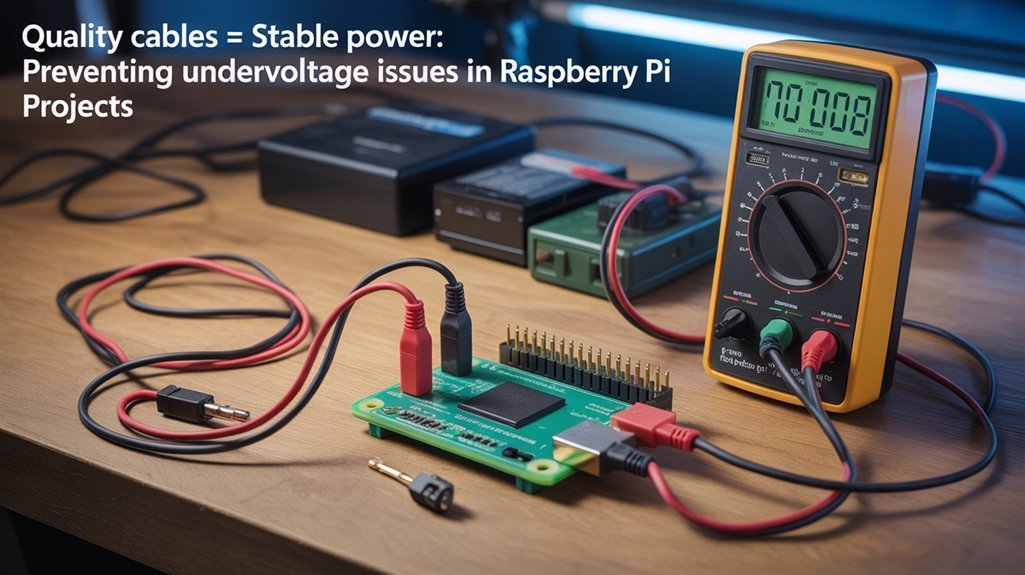
While many Raspberry Pi users focus exclusively on processor specs and add-on hardware, cable quality remains a critically underappreciated factor in system stability. Thicker wires (lower AWG numbers) greatly reduce voltage drop across longer connections—opt for 20AWG power wires instead of 28AWG for reliable power delivery.
Your Pi requires at least 4.75V to operate properly, but poorly constructed cables with inadequate wire insulation can cause voltage drops of 0.2-0.4V, triggering brownouts or system crashes.
Cable durability directly correlates with performance stability; longer cables increase resistance, so choose shorter, thicker gauge options whenever possible. Quality connectors matter too—poor contact points increase resistance and create intermittent power interruptions. Using high-quality connectors rated for at least 1.8A can significantly improve system reliability and prevent power-related failures.
For projects exceeding one meter from power source to Pi, invest in proper cables specifically designed for power delivery. Official power supplies utilize thicker cables designed specifically to maintain consistent voltage under load conditions.
Setting Up Uninterruptible Power Systems for Pi
Making certain your Raspberry Pi remains operational during power outages requires implementing an Uninterruptible Power System (UPS). Network UPS Tools (NUT) provides extensive management capabilities for connecting your Pi to commercial UPS devices via USB, with auto-detection of hardware parameters.
For ideal reliability, follow these critical implementation steps:
- Install NUT with `apt-get install nut nut-client nut-server` to enable both monitoring and control functions.
- Configure `/etc/nut/ups.conf` with appropriate driver parameters and device identification.
- Set `SHUTDOWNORDER=-1` to prevent inadvertent power cycling during system restarts.
- Implement shutdown sequences triggered by battery thresholds to preserve data integrity.
Custom UPS solutions using lithium batteries with BMS circuits offer extended runtime advantages for innovative deployments, while proper UPS configuration settings guarantee your Pi receives clean, uninterrupted power during grid failures. The CyberPower SX550G provides several hours of backup power specifically designed for low-power devices like the Raspberry Pi. Regular verification of the UPS functionality is essential to ensure the system will perform reliably during actual power events.
Monitoring and Troubleshooting Power Issues

Effective power monitoring forms the foundation of reliable Raspberry Pi deployments, especially in critical applications where unexpected shutdowns can lead to data corruption or service interruptions.
You’ll need to implement real-time power measurement using specialized hardware like current transformers and voltage sensors that can sample at high frequencies—tens of thousands of times per second—to accurately capture power factor and harmonic distortion. Solutions like the power monitoring repository combine custom hardware and software to track consumption and generation with precision.
When troubleshooting techniques, watch for the telltale undervoltage symbol on your Pi’s display, which indicates immediate intervention is required.
Analyze collected metrics through visualization tools like Grafana to identify abnormal consumption patterns or supply fluctuations. You can monitor up to six current transformers simultaneously for comprehensive power analysis across multiple circuits. Continuous monitoring helps detect potential issues before they become critical failures.
For complex installations involving high voltage, always consult licensed electricians to guarantee safety while maintaining suitable power efficiency for your Pi projects.
Advanced Power Management for Off-Grid Pi Projects
Off-grid Raspberry Pi deployments require sophisticated power management strategies that balance energy efficiency with performance requirements. Your system’s longevity depends on implementing power scaling techniques that minimize consumption without compromising functionality.
Power management is the lifeblood of off-grid Pi projects, requiring careful balance between efficiency and functionality.
To maximize energy efficiency in your off-grid Pi project:
- Disable non-essential interfaces (USB, HDMI, Wi-Fi) to reduce current draw by 50-100mA per interface.
- Underclock your CPU to 900MHz through boot configuration parameters to decrease active power consumption.
- Implement duty cycling for peripherals, activating them only when needed for data collection.
- Employ DC-DC buck converters with high efficiency ratings (>90%) to minimize conversion losses from battery to Pi.
The Raspberry Pi typically draws approximately 600mA in active mode when running at full capacity.
Pair these techniques with appropriate energy harvesting solutions like solar panels and high-density batteries for truly autonomous operation.
Consider adding supercapacitors to handle transient loads without stressing your primary power source.
Monitoring indoor and outdoor temperature data can help optimize your power management system by controlling cooling systems based on environmental conditions.
Frequently Asked Questions
Can I Power Multiple Raspberry Pis From a Single Power Source?
Yes, you can power multiple Raspberry Pis from one source if it delivers sufficient current. Implement proper power sharing techniques and power management circuits to prevent voltage drops during peak loads and guarantee reliable operation.
Will Power a Raspberry Pi Through GPIO Pins Bypass USB-C Power Protection?
Curiously, at the precise moment you bypass protection circuits, you’re taking a risk. Yes, powering through GPIO pins completely circumvents USB-C’s integrated safety features—sacrificing overcurrent and surge protection for direct power efficiency.
How Does Temperature Affect Battery Performance in Pi Projects?
Temperature greatly impacts your battery chemistry, reducing capacity by ~20% near freezing and accelerating degradation above 30°C. Implement temperature management strategies to optimize cycle life and maintain power efficiency in Pi deployments.
Can Solar Panels Directly Power a Raspberry Pi?
Like a river needs banks to flow safely, your Pi needs regulation. Don’t connect solar panels directly—you’ll need charging circuit compatibility and consideration of solar panel efficiency to guarantee stable 5V power delivery.
Does Overclocking the Pi Significantly Increase Power Requirements?
Yes, overclocking considerably increases your Pi’s power requirements. You’ll need a 5V/4A supply instead of 5V/3A, as power consumption scales proportionally with clock frequency, reducing power efficiency despite performance benefits.
Conclusion
Just like a garden withers without proper irrigation, your Pi’s circuits starve without ideal voltage. You’ll find power’s path behaves as Kirchhoff’s laws predict—every millivolt matters. Whether you’re drawing from USB’s regulated springs or battery reservoirs, you’re establishing a critical power transfer function. Monitor your current draw closely; it’s the heartbeat of your system. Remember, your Pi’s thermal efficiency directly reflects your power solution’s precision.
