You’ve heard about the Raspberry Pi, but haven’t taken the plunge yet? This credit card-sized computer opens countless possibilities for tech enthusiasts, students, and hobbyists alike. You’ll need minimal equipment to get started—a power supply, microSD card, and basic peripherals. Once assembled, the intuitive Raspberry Pi OS installation process guides you through setup. From controlling smart home devices to building robots, your journey into physical computing begins with understanding the fundamentals. The next steps will transform your curiosity into capability.
So let’s explore the Raspberry Pi for beginners. Where to start? How to use it?
Key Takeaways
- Purchase essential hardware: Raspberry Pi board, power supply, microSD card (32GB+), HDMI cable, keyboard, and mouse.
- Install Raspberry Pi OS using the official Raspberry Pi Imager software to flash your microSD card.
- Connect peripherals before powering on, then follow the first-boot setup wizard to configure locale settings and create user credentials.
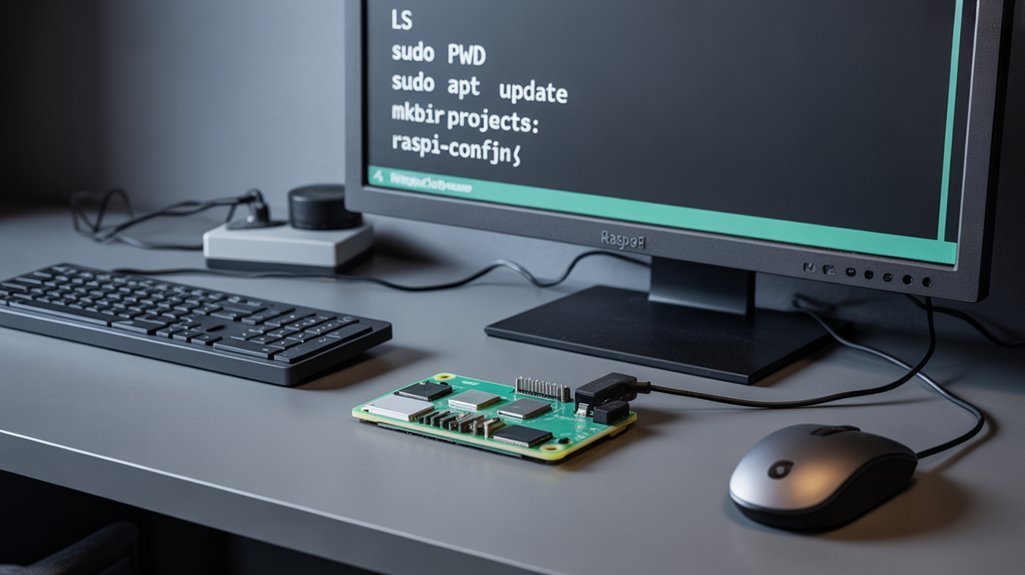
- Learn basic terminal commands like pwd, ls, cd, and apt update to navigate the system and keep software current.
- Set up networking through the Network Manager GUI or nmcli command tool for internet access and remote connections.
What Is a Raspberry Pi and Why Learn It?

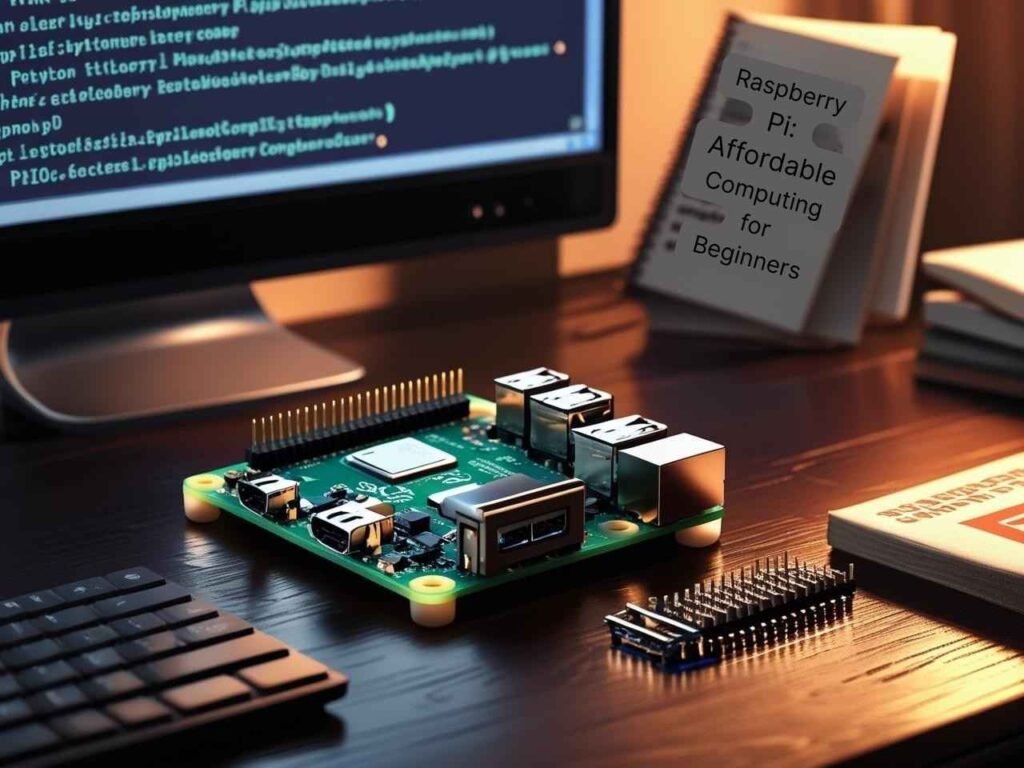
Innovation in a credit-card-sized package, the Raspberry Pi represents a revolutionary approach to computing that makes technology accessible to everyone.
This single-board computer runs full Linux operating systems while featuring GPIO pins for hardware interfacing, enabling you to bridge software and electronics seamlessly. Its powerful Quad-core processor delivers impressive performance at 1.8GHz, making it capable of handling diverse computing tasks. Introduced in 2012 by the Raspberry Pi Foundation, this mini-computer was originally designed for educational purposes in computer science.
The Raspberry Pi’s learning benefits extend beyond its technical specifications.
You’ll gain foundational knowledge in computing, programming, and electronics through hands-on projects.
This versatile platform supports multiple programming languages while enabling experimentation with robotics, IoT, and automation.
Essential Hardware You’ll Need to Begin
Five essential hardware components form the foundation of any Raspberry Pi setup, each playing a critical role in your journey into single-board computing.
First, select a power supply matching your Pi model’s requirements—Pi 5 needs 5V/5A, while Pi 4 requires 5V/3A.
Proper power delivery is crucial—pair your Pi model with its exact voltage and amperage specifications for reliable operation.
For storage media, choose at least a 32GB micro SD card for full OS installations or 16GB for lightweight versions. Creating a backup copy of your configured SD card is essential to prevent data loss if your working card becomes damaged.
Connect your Pi to an HDMI-compatible display using the HDMI0 port for your primary monitor and attach USB input devices like keyboards and mice.
Leverage built-in connectivity components including Wi-Fi, Bluetooth, and Ethernet for networking options.
Finally, expand your capabilities with prototyping accessories such as breadboards, jumper wires, and electronic components, or add specialized expansion options like HATs for environmental sensing or motor control.
Setting Up Your Raspberry Pi for the First Time

When setting up your Raspberry Pi for the first time, following a methodical sequence guarantees a successful boot and configuration process.
Begin with peripherals connection while the device is unpowered—insert your pre-loaded microSD card, connect keyboard, mouse, and display via HDMI.
Use a reliable power supply delivering at least 2A current; official adapters prevent undervoltage issues. Upon powering up, you’ll see the boot screen followed by the raspi-config interface.
Expand your root filesystem, set locale preferences, and note the default credentials (username: “pi”, password: “raspberry”).
Establish network connectivity via Ethernet (recommended for stability) or Wi-Fi. For headless setups, enable SSH access by entering the command sudo raspi-config in the terminal and selecting the appropriate option.
After initial setup, it’s important to update your system packages using apt commands to ensure security and functionality.
Always perform proper shutdowns using “sudo shutdown now” to prevent SD card corruption. If display issues occur, verify HDMI connections and monitor input selection.
Installing and Configuring Raspberry Pi OS
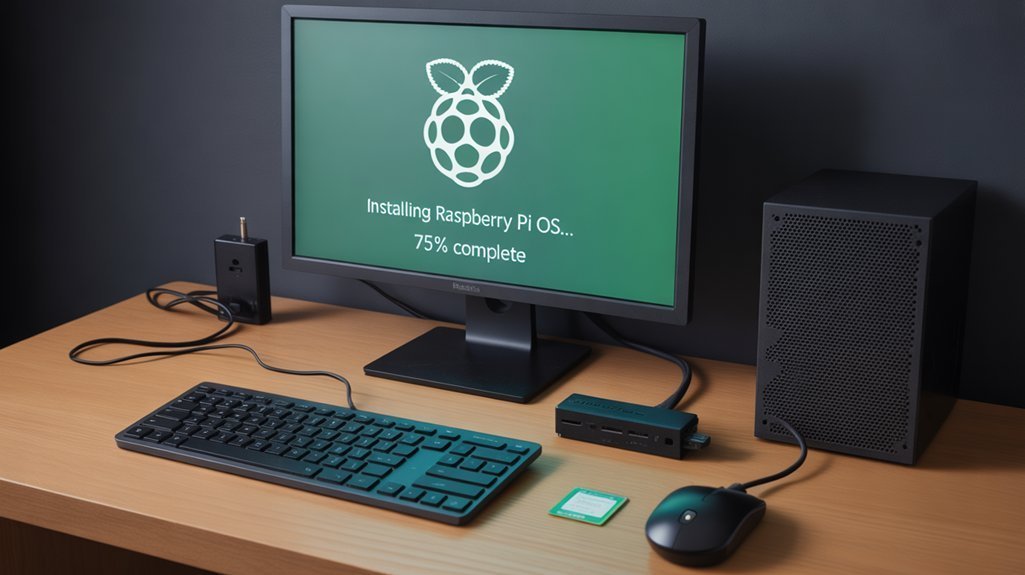
To flash your Raspberry Pi OS, download the Raspberry Pi Imager from the official website and use it to write your chosen OS version to a class 10 microSD card (minimum 8GB, 32GB recommended).
Follow the first-boot setup wizard to configure language preferences, create user credentials, and establish Wi-Fi connectivity for immediate system updates.
Confirm all peripherals are connected before powering on your Pi, watching for the green status LED as confirmation of successful startup before proceeding through the configuration screens. After successful boot, you’ll need to adjust your localization settings since the default settings are UK-based. During initial boot, you may choose to skip the update process and allow it to run in the background while you explore your new Raspberry Pi.
Flashing OS Images
Flashing the operating system onto your Raspberry Pi represents a critical first step in bringing your miniature computer to life.
The Raspberry Pi Imager application streamlines this process, allowing you to select and write your chosen OS directly to a microSD card. This modern tool is highly recommended over older alternatives like Etcher for its simplicity and integrated features. Access the hidden menu for pre-configuration by pressing keyboard shortcuts depending on your operating system. For ideal performance, choose high-quality storage media—minimum 16GB for Lite versions and 32GB for full installations.
Advanced flashing techniques include:
- Pre-configuring your device by using the “Edit settings” option to set hostname, username, password, and enable SSH before writing
- Verifying your target media is correctly recognized by your computer before initiating the write process
- Implementing image verification to guarantee data integrity, reducing potential boot failures during initial startup
After successfully flashing, safely eject the media before inserting it into your powered-off Pi.
First-boot Setup
Once you’ve successfully flashed your Raspberry Pi’s microSD card, the first-boot setup process begins your journey with your new mini-computer.
Start by establishing proper Peripheral Connections—insert your microSD card, connect your HDMI monitor, keyboard, and mouse before attaching power. The Pi’s LED will indicate successful startup as the boot screen appears.
The Welcome Wizard automatically launches, guiding you through critical configuration: locale settings, user account creation, and Wi-Fi setup. If you’re setting up a headless system, you may need to disable wizard by running ‘sudo apt purge piwiz -y’ command.
For headless installations, connect via Ethernet and access your Pi using SSH through its IP address or hostname. If troubleshooting headless setup, you can verify connection by using the ping raspberrypi.local command to locate your Pi on the network.
After initial boot, run `sudo raspi-config` to fine-tune system options, interfaces, and networking settings.
Complete your setup with essential system updates using `sudo apt update` and `sudo apt full-upgrade`, then reboot to apply all changes.
Basic Commands and Navigation for Beginners

Learning five essential command line skills forms the foundation of your Raspberry Pi experience. Understanding the hierarchical file system structure helps you efficiently locate and manage your projects. Start with directory navigation commands like `pwd` to identify your location, `ls` to view contents, and `cd` to move between directories.
Mastering command line basics unlocks the full potential of your Raspberry Pi journey
- File Management – Use `cp` to copy files, `mv` to relocate or rename them, and `mkdir` to create new directories for organizing your projects.
- System Monitoring – Check CPU temperature with `vcgencmd measure_temp` and view resource usage with `top` to maintain ideal performance.
- Network Configuration – Run `ifconfig` to identify your Pi’s IP address, essential for remote connectivity and project sharing across devices. You can also use `hostname -I` to quickly obtain the device’s IP address.
Command usage becomes intuitive with practice, transforming your interaction with the Pi’s powerful capabilities. Remember that you don’t need to memorize every command as a small set of commands covers about 50% of command line usage.
Your First Python Programming Project
Python programming represents the next natural step after mastering basic command line operations on your Raspberry Pi. With Python 3 pre-installed on Raspberry Pi OS, you’re ready to create your first project involving hardware interaction.
Start by launching Thonny IDE, which comes pre-installed and enables immediate code execution. Your first project will typically involve GPIO manipulation:
| Component | Function | Python Library |
|---|---|---|
| LED | Visual output | RPi.GPIO |
| Button | User input | gpiozero |
| Sensor | Data collection | I2C/SPI modules |
| Motor | Physical control | PWM functions |
Structure your code with meaningful variable names and organize functionality into discrete functions. Python automatically identifies and assigns appropriate data types to your variables without requiring explicit declarations. Include comments prefixed with ‘#’ to explain complex logic. When testing your project, observe both hardware reactions and console feedback to verify performance. Save your scripts with .py extension for seamless execution via terminal or IDE. The Raspberry Pi’s GPIO pins allow direct connection to electronics components, making it perfect for physical computing projects.
Connecting to Networks and Remote Access

You’ll need to connect your Raspberry Pi to your network before accessing its full capabilities, which involves using either the Network Manager GUI or the `nmcli` command tool to configure Wi-Fi credentials.
Once connected, enable SSH during initial setup using Raspberry Pi Imager or by placing an empty file named “ssh” in the boot partition to allow remote access. You can also enable SSH through raspi-config tool for secure terminal connections to your Raspberry Pi.
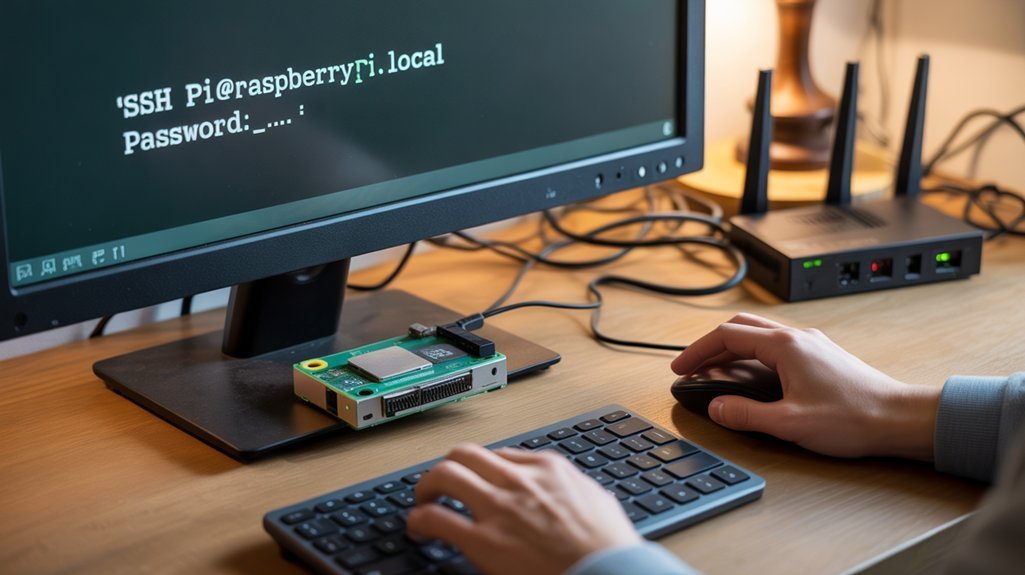
Your Pi can then be accessed remotely via SSH using its hostname (raspberrypi.local) or IP address, eliminating the need for a dedicated monitor and keyboard. Consider setting up a static IP address on your Raspberry Pi to ensure consistent access and simplified remote connections.
Wi-Fi Setup Steps
Connecting your Raspberry Pi to Wi-Fi opens up a world of possibilities for remote access and headless operation, which eliminates the need for dedicated peripherals.
You have three effective methods to configure wireless connectivity, each suitable for different scenarios.
- Pre-boot Configuration: Use Raspberry Pi Imager to embed Wi-Fi credentials during OS flashing—input your SSID, password, and country code in the OS Customisation menu for automatic connection on first boot. Remember that most Raspberry Pi 3 and newer models have built-in WiFi capabilities, eliminating the need for external adapters.
- Post-boot Terminal Setup: Access `raspi-config` via command line to configure Wi-Fi settings under System Options, ideal for when you’re troubleshooting Wi-Fi security issues or changing networks. For newer Raspberry Pi OS Bookworm versions, you can also use the network manager tool `nmtui` for a more user-friendly interface.
- Headless Setup with wpa_supplicant: Create a properly formatted configuration file with network parameters on your SD card’s boot partition—perfect for deployments without monitors or keyboards.
SSH Remote Control
Once you’ve established a Wi-Fi connection, SSH (Secure Shell) provides a powerful method for controlling your Raspberry Pi remotely without needing a dedicated display or keyboard. This powerful protocol offers significant SSH benefits, including complete terminal access from anywhere on your network.
| Connection Method | Command/Tool | Platform | Notes |
|---|---|---|---|
| Terminal | `ssh username@IP_address` | Linux/Mac | Default option |
| PuTTY | GUI application | Windows | For pre-Windows 10 |
| OpenSSH | `ssh username@hostname.local` | Windows 10+ | Enable in Optional Features |
| Mobile Apps | Termius | iOS/Android | On-the-go access |
To enhance SSH security, enable it via `sudo raspi-config` or by creating an empty `ssh` file in the boot partition. For maximum protection, implement key-based authentication and disable password login—this virtually eliminates brute force attacks while maintaining convenience.
Troubleshooting Common Issues for New Users
Even the most carefully set up Raspberry Pi can encounter problems that perplex new users. When troubleshooting, examine your power supply first—insufficient voltage causes boot loops and peripheral failures.
Use supplies rated at 2.5A minimum and high-quality cables to prevent voltage drops.
Common issues you’ll encounter:
- SD card corruption – Format with Raspberry Pi Imager and update bootcode.bin to resolve boot failures
- GPIO connection errors – Verify pin numbering (GPIO vs. physical) and check for loose wires with a multimeter
- Display and network failures – Edit config.txt for screen problems, restart network gear for connectivity issues
For USB recognition problems, try disabling power management features in configuration settings.
Consulting system logs helps identify elusive software configuration issues.
Frequently Asked Questions
Can I Run Windows or MacOS on My Raspberry Pi?
You can’t run macOS on Raspberry Pi. For Windows, you’ll need a Pi 4/5 with 4-8GB RAM, but it’s unsupported officially and performs poorly compared to Raspberry Pi OS.
How Much Power Does a Raspberry Pi Typically Consume?
Like sipping electricity through a straw, your Raspberry Pi consumes 2.5-5W depending on the model. Pi 4 uses ~3W idle and 4.5W under load, while the Zero offers superior power efficiency under 1W for energy savings.
Can Raspberry Pi Handle Video Streaming Services Like Netflix?
Yes, your Raspberry Pi can handle Netflix through Chromium with Widevine DRM. Performance depends on hardware—Pi 4/5 achieves 1080p resolution, but lacks hardware acceleration, limiting higher-quality video streaming.
Is Raspberry Pi Suitable for Children’s Programming Education?
Raspberry Pi’s ideal for children’s coding education. You’ll discover programming tutorials tailored to various skill levels, while engaging Raspberry Pi projects develop computational thinking through hands-on experience with both hardware and software components.
Can I Overclock My Raspberry Pi for Better Performance?
Like coaxing fire from silicon, you can overclock your Pi for performance benefits. Monitor temperatures below 70°C, modify config.txt parameters, and implement proper cooling to mitigate overclocking risks during your hardware experimentation.
Conclusion
You’ve now journeyed from unboxing your Pi to executing your first Python script. While beginners face the terminal’s stark command line, you’ll soon navigate it with confidence. Your compact $35 computer contrasts sharply with its vast potential—from home automation to retro gaming. Connect, create, troubleshoot, repeat. The Pi ecosystem rewards persistence; each error message becomes a signpost guiding you toward technical proficiency.
