You’ll find remote management essential for maximizing your Raspberry Pi’s potential without physical access. Whether you’re controlling IoT devices, hosting servers, or automating home systems, proper remote setup eliminates the need for keyboards and monitors at every location. SSH provides command-line access, while VNC offers full desktop control—but security remains paramount. The right configuration transforms your Pi from a simple computer into a versatile, accessible computing platform that responds to your commands from anywhere.
Key Takeaways
- SSH provides secure command-line access and can be enabled through configuration menus or by creating an empty ‘ssh’ file in boot.
- VNC offers full graphical control for local networks while XRDP provides a Windows-like interface across different platforms.
- SSH key authentication significantly enhances security over passwords and simplifies management of multiple Raspberry Pi devices.
- Implementing a VPN tunnel adds encryption for internet-accessible remote management while avoiding exposure of direct SSH ports.
- Raspberry Pi remote management enables headless operation for IoT projects, industrial monitoring, and collaborative educational applications.
Core Remote Management Options for Your Raspberry Pi
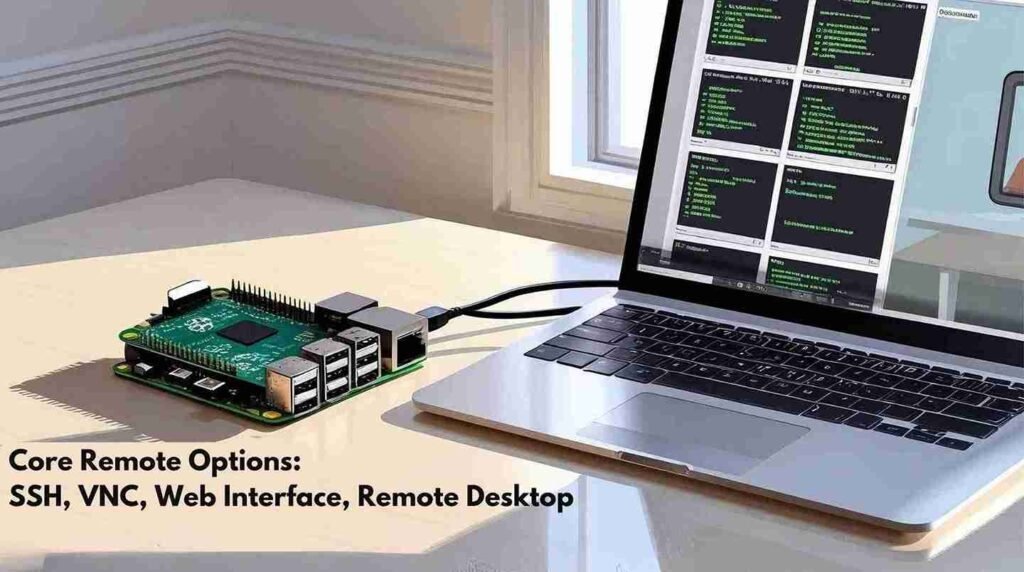
How you access your Raspberry Pi remotely depends on your specific requirements and network environment.
VNC performance excels on local networks, providing full graphical control through RealVNC (pre-installed on Raspberry Pi OS) or alternatives like TightVNC and TigerVNC.
For Windows-like experiences, XRDP compatibility spans across platforms without additional software, though it requires more configuration than VNC.
When you need internet-based control without complex setup, TeamViewer alternatives such as AnyDesk offer simplified connectivity through firewalls.
Web-based interfaces like Webmin deliver browser-accessible control perfect for IoT management scenarios where full desktop access isn’t necessary.
SSH with X11 forwarding allows you to remotely launch Raspberry Pi applications while providing secure terminal access through port 22.
These lightweight solutions work well for headless deployments and integrate with APIs or MQTT for extensive IoT device monitoring and management. The new Raspberry Pi Connect offers peer-to-peer connections for enhanced security while maintaining simplicity for basic remote access needs.
Setting Up and Configuring SSH Access
SSH access on your Raspberry Pi requires explicit activation through the Raspberry Pi Configuration menu or by creating an empty ‘ssh’ file in the boot partition.
You’ll need to connect using either the Pi’s hostname or IP address with the command `ssh username@hostname.local` or `ssh username@ip_address`.
For enhanced security, consider implementing SSH key authentication instead of password-based login, which considerably reduces vulnerability to brute force attacks.
Troubleshooting “Connection Refused” errors typically involves verifying that SSH is enabled and adjusting any firewall settings that might be blocking access.
SSH is particularly valuable for headless installation scenarios where no monitor or keyboard is connected to the Raspberry Pi.
Enabling SSH Initially
There are two primary methods to enable SSH on your Raspberry Pi before remote management can begin.
For headless setup, simply create an empty file named `ssh` (without extension) in the boot partition of your SD card using your computer. The OS recognizes this file during first boot, enabling SSH automatically before deleting the file.
Alternatively, if you have physical access with a display and keyboard, navigate to Start Menu > Preferences > Raspberry Pi Configuration > Interfaces tab. Toggle SSH to “Enabled” and apply changes.
After enabling SSH, determine your Pi’s IP address using `hostname -I` or by checking your router’s DHCP client list. This IP address is essential for establishing SSH connections from Linux, macOS, Windows, or mobile clients using the format `ssh pi@192.168.1.100`. Remember that a security warning will appear on your first SSH connection, which is normal behavior requiring you to type ‘yes’ to continue. You can also use the terminal command `sudo raspi-config` to access interface settings and enable SSH from the command line.
SSH Keys Vs Passwords
When securing remote access to your Raspberry Pi, you’ll need to choose between two authentication methods: SSH keys or passwords. SSH keys provide considerably stronger security implications through cryptographic authentication, eliminating vulnerability to brute force attacks that plague password systems. The public key requires server-side storage while your private key remains secure on your client device.
The user experience differs prominently between these approaches.
For innovation-focused projects requiring robust protection:
- SSH key authentication enables seamless automated access for your headless deployments while maintaining superior security through possession-based verification. Generate key pairs using ssh-keygen which creates both private and public keys needed for authentication.
- Password-less login streamlines your workflow when managing multiple devices remotely, reducing friction in development cycles.
- Disabled password authentication hardens your system against the most common attack vectors, essential when exposing your Pi to the internet.
Consider implementing key-based authentication as your primary method, with passwords only as temporary fallbacks during initial setup.
Using VNC for Full Desktop Control
Virtual Network Computing (VNC) offers a powerful solution for users who need full graphical desktop control of their Raspberry Pi from remote locations.
The primary VNC benefits include accessing your Pi’s complete GUI environment, running applications, and troubleshooting issues as if sitting directly in front of it.
VNC setup is straightforward—enable it through the Raspberry Pi Configuration tool by running `sudo raspi-config` and directing to Interfacing Options.
Getting started with VNC is refreshingly simple—just activate it via raspi-config and navigate to Interfacing Options.
Alternatively, use the GUI menu via Preferences. After enabling, reboot your Pi to confirm proper startup.
For security, always set strong passwords and avoid exposing VNC ports directly to the internet.
Instead, implement encrypted tunneling services like PiTunnel or RealVNC Connect for secure remote access across different devices, including smartphones and tablets. Raspbian comes with RealVNC server pre-installed, making the setup process even easier for most users.
With PiTunnel, you can create custom tunnels that allow you to access your Raspberry Pi’s VNC server from anywhere in the world.
Leveraging Raspberry Pi Connect for Cloud-Based Access
Raspberry Pi Connect offers a revolutionary cloud-based approach to remote Pi management, eliminating common networking hurdles.
You’ll access your Pi’s terminal and desktop interface through any web browser without configuring port forwarding, static IPs, or firewall rules. This cloud security model encrypts communications while preventing direct exposure of your device to the internet.
- Simplified Configuration – Deploy in previously inaccessible locations without complex network setup
- Enhanced Protection – Avoid traditional security vulnerabilities of exposed SSH/VNC ports
- Universal Accessibility – Control your Pi from anywhere with internet access, regardless of NAT or firewall restrictions
The service automatically handles NAT traversal and works with both headless setups and GUI environments. This approach aligns with the environmental benefits of using a Raspberry Pi, as its minimal power consumption creates an energy-efficient remote management solution. Tools like Dataplicity and RealVNC provide similar browser-based access solutions for managing your Pi remotely.
For remote accessibility in IoT projects or embedded systems, Pi Connect delivers seamless management capabilities without sacrificing security.
Securing Your Remote Management Connections
You’ll need to implement SSH key authentication to replace password-based logins, considerably strengthening your Raspberry Pi’s security against brute-force attempts.
Setting up a VPN tunnel creates an encrypted pathway between your device and Pi, ensuring all transmitted data remains protected from interception on public networks. Changing the default SSH port to a non-standard port can significantly reduce automated scanning attacks. Regular security audits of your remote management configurations can help identify and address potential vulnerabilities before they’re exploited.
These security measures work together to create multiple layers of protection, allowing you to manage your Raspberry Pi remotely without compromising sensitive information.
SSH Key Authentication
The foundation of secure remote Raspberry Pi management lies in implementing SSH key authentication.
Generate strong keys using `ssh-keygen`, selecting Ed25519 or RSA (2048+ bits) for optimal encryption standards. Transfer your public key to the Pi with `ssh-copy-id username@ip-address`, then properly set permission settings (700 for .ssh directory, 644 for authorized_keys).
For streamlined key management, configure your SSH server by editing `/etc/ssh/sshd_config` to:
- Enable public key authentication
- Disable password-based logins
- Restrict root access for enhanced security
Leverage SSH agent for seamless authorized access, adding your private key with `ssh-add`. SSH keys provide significantly enhanced security as they are harder to brute-force compared to traditional password authentication.
Remember that effective security requires periodic key rotation, removing unused credentials from your Pi’s authorized_keys file. After successful setup, you might need to restart sshd to apply all configuration changes.
VPN Tunnel Setup
While SSH key authentication forms your first line of defense, establishing a VPN tunnel provides an essential encrypted pathway for secure remote Raspberry Pi management.
Several VPN server options are available for your Pi. OpenVPN offers reliable security, while PiVPN simplifies installation through its automated script. For easier administration, OpenVPN Access Server provides a web UI with client management features.
Before deployment, implement these VPN security measures: assign your Pi a static IP address, configure proper subnet routing, specify secure DNS servers, and enable port forwarding (typically UDP 1194) on your router. The VPN connection creates a secure data traffic tunnel that protects your information from potential hackers.
Change default Pi passwords before setup and utilize client certificates for access control.
After configuration, distribute client profiles (.ovpn files) to authorized users. Your VPN tunnel will redirect all traffic through your home network, protecting your Pi management activities even on untrusted networks. For optimal performance, consider using WireGuard protocol as it typically offers faster speeds than OpenVPN.
Advanced Configuration Tips for Optimal Performance
Five critical configuration adjustments can dramatically improve your Raspberry Pi’s remote management performance.
Filesystem expansion maximizes available storage, preventing unexpected space limitations during remote operations. Configure network interface naming for clarity—stick with traditional names (eth0, wlan0) unless managing complex environments. Boot order adjustments on Pi 4+ models enable flexible device prioritization without physical access. Implementing SSH activation settings allows secure terminal connectivity without requiring direct physical access to your device. Configuring the Raspberry Pi to wait for network at boot ensures remote services are ready when connections are attempted.
- Performance tuning through CPU overclocking and GPU memory allocation optimizes resource utilization for your specific workload.
- Proxy settings implementation secures remote access through corporate networks while maintaining precise control over traffic routing.
- Boot options configuration, including overlay filesystem implementation, protects against corruption during unexpected shutdowns.
These adjustments transform your Pi from a basic remote device into a robust, resilient system optimized for continuous headless operation.
Remote Access via Mobile Devices
Extending your Raspberry Pi remote management setup to mobile devices opens significant possibilities for on-the-go system administration and monitoring. You’ll need to implement proper security practices while selecting appropriate mobile access methods for your needs.
| Connection Tool | Security Consideration | Setup Requirement |
|---|---|---|
| SSH | Use key-based auth | Enable SSH interface |
| VNC Viewer | Strong passwords | Configure VNC service |
| Raspberry Pi Connect | Firewall rules | Install 64-bit OS Bookworm |
For ideal remote connection tools performance, consider using a VPN when accessing your Pi from public networks. Enable the necessary interfaces through the Raspberry Pi Configuration tool, then install the corresponding mobile client app. Configure port forwarding on your router if you need access beyond your local network.
Troubleshooting Common Remote Connection Issues
Remote connectivity to your Raspberry Pi can encounter various obstacles that need systematic troubleshooting. When faced with connection frequency problems, verify your network reliability first by checking your Pi’s current IP address using `hostname -I` before attempting to connect.
Router configurations and firewall settings on both client and Pi sides commonly block remote access ports.
For effective resolution:
- Run troubleshooting scripts that periodically ping reliable hosts to monitor connection status and automatically restart network interfaces when failures occur.
- Test alternative remote access protocols if experiencing latency issues (RealVNC performs better than RDP on most Pi configurations).
- Implement wired Ethernet connections instead of Wi-Fi for improved device response and connection stability.
For persistent issues, verify temperatures using `vcgencmd measure_temp` as overheating can cause unexpected connectivity failures.
Real-World Project Applications for Remote Pi Management
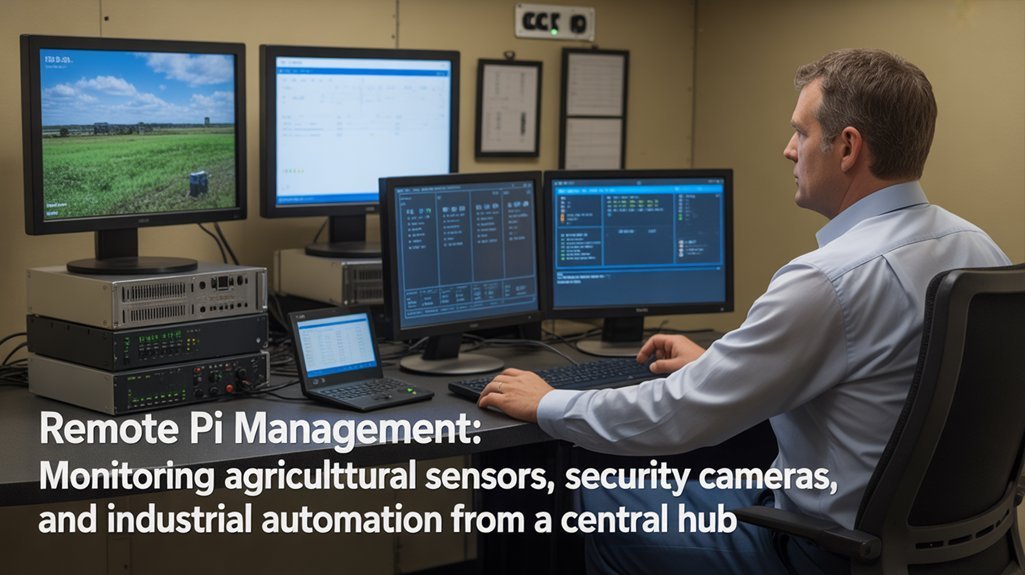
The practical applications of Raspberry Pi remote management span four major sectors, transforming how businesses and individuals implement technological solutions.
In industrial environments, you’ll find cost-effective remote monitoring systems using Pi-connected cameras and motion detectors to oversee manufacturing processes across global facilities.
For IoT integration, your smart home devices can be securely controlled without exposing them to the internet, implementing Zero Trust Network Access principles while eliminating vulnerable open ports.
Developers benefit from accelerated workflows, remotely testing and debugging software without physical access to hardware.
Remote development with Raspberry Pi eliminates hardware barriers, streamlining testing and debugging workflows for efficient code iteration.
Educational institutions leverage shared Pi access for student coding projects and robotics competitions.
Meanwhile, Pi-based media and server applications allow you to manage streaming services, perform updates, and monitor system health from anywhere—significantly reducing maintenance overhead and enabling cross-platform management.
Frequently Asked Questions
Can I Remotely Power Cycle My Raspberry Pi if It Freezes?
You can’t remotely reboot a frozen Pi using software alone. You’ll need hardware solutions like a secondary Pi with a relay, a microcontroller with a power switch, or GPIO reset pin wiring.
Is Port Forwarding Necessary When Using Raspberry Pi Connect?
You’d think traditional port forwarding is essential, but it’s not. Raspberry Pi Connect uses alternative methods like reverse tunneling to provide remote accessibility without compromising port security—eliminating explicit port forwarding requirements.
How Much Bandwidth Does Remote Desktop Management Consume?
Your remote desktop’s bandwidth usage varies from 1-5 Mbps for basic tasks to 180-283 Mbits/sec during data transfers. Adjust color depth, resolution, and frame rate to minimize performance impact.
Can I Access GPIO Pins and Connected Hardware Remotely?
Yes, you can access GPIO pins and connected hardware remotely using the pigpio daemon. Enable Remote GPIO in raspi-config, start pigpiod, and use GPIO Zero or pigpio libraries for secure, network-based access.
Does Remote Management Impact the Pi’s Processing Performance?
Like a hidden tax, remote management exacts a performance impact on your Pi. CPU resources are consumed by protocols, especially with VPN encryption or desktop streaming. Consider lightweight alternatives when optimization is critical.
Conclusion
You’ve mastered remote Pi management but ironically, your greatest vulnerability isn’t technical—it’s human error. Don’t configure SSH keys perfectly only to write your password on a sticky note. Implement two-factor authentication, maintain regular security audits, and always patch your system. The most sophisticated remote setup becomes worthless when you’ve forgotten to update that one critical package. Security isn’t a feature—it’s a continuous process.
