You’ve probably heard about the Raspberry Pi in tech conversations, but what is a Raspberry Pi? What exactly is this credit card-sized device that enthusiasts can’t stop talking about? It’s a fully functional computer that costs less than a nice dinner yet can power everything from home automation systems to retro gaming consoles. The Raspberry Pi’s combination of affordability, versatility, and educational value has revolutionized how people approach computing projects and learn programming skills.
Key Takeaways
- Raspberry Pi is a credit-card-sized, low-cost computer originally developed in 2006 to increase youth interest in computer science.
- It features a processor, memory, and connectivity options like Wi-Fi and Ethernet, all on a single circuit board.
- The latest Raspberry Pi 5 uses a quad-core ARM Cortex-A76 CPU running at 2.4GHz with up to 16GB RAM.
- It runs various operating systems including Raspberry Pi OS, Ubuntu, and specialized distributions for different applications.
- Raspberry Pi enables programming, electronics projects, and education through GPIO pins that connect to external hardware components.
The Origins and Evolution of Raspberry Pi
Four engineers at the University of Cambridge launched the Raspberry Pi project in 2006 to address a growing problem: young people’s diminishing interest in computer science. Led by Eben Upton, they developed a credit-card-sized, affordable computer that would make programming accessible to students and hobbyists alike.
The name “Raspberry Pi” combines fruit-themed computer naming traditions with a reference to the Python programming language used in early devices. The first prototype was developed with a Broadcom BCM2835 system-on-chip, establishing the foundation for future models.
The Raspberry Pi history shows remarkable computing evolution. After early prototypes between 2006-2008, the first Model B debuted on February 29, 2012, revolutionizing hardware affordability in educational computing.
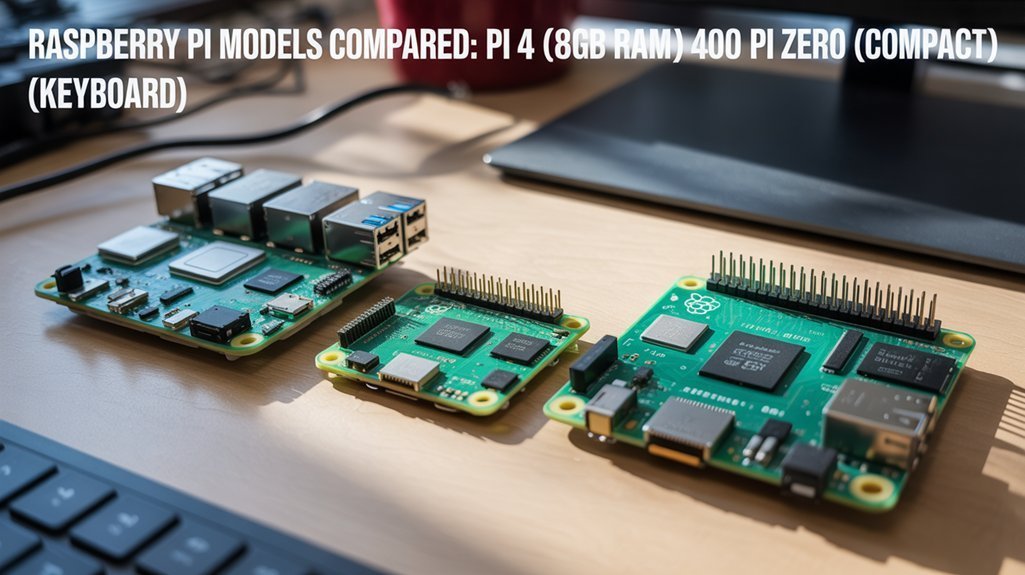
The foundation quickly expanded its lineup with the Model A (2013), followed by significant upgrades with the Pi 2 (2015) and Pi 4 (2019). Despite semiconductor shortages beginning in 2020, innovation continued with the keyboard-integrated Pi 400 and microcontroller-based Pi Pico, maintaining the project’s commitment to educational impact.
Understanding Raspberry Pi Hardware Components
The heart of any Raspberry Pi lies in its carefully designed hardware components that balance capability, affordability, and flexibility. The newest Raspberry Pi 5 features a quad-core ARM Cortex-A76 CPU running at 2.4GHz, delivering 2-3× the performance of its predecessor.
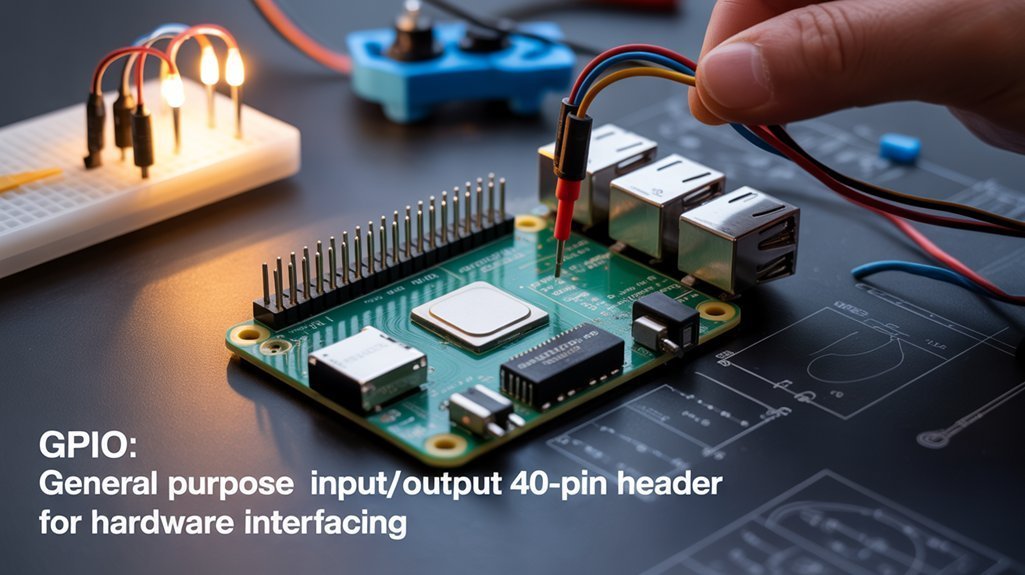
You’ll find impressive connectivity options including Gigabit Ethernet, Bluetooth 5.0, and dual-band Wi-Fi, complemented by USB ports and the versatile 40-pin GPIO header for connecting sensors and actuators.
Hardware specifications now include up to 16GB RAM, with both models supporting Micro-SD storage.
Design innovations like the RP1 southbridge chip and PCI Express support in the Pi 5 expand use cases from home automation to AI applications. The current Raspberry Pi 4 Model B uses the powerful Broadcom BCM2711 processor, a quad-core Cortex-A72 running at 1.8GHz. The PCB measures 85mm x 56mm in size, giving the board a compact credit card-like form factor ideal for space-constrained projects.
This hardware architecture guarantees excellent software compatibility across the platform, backed by robust community support for troubleshooting and performance benchmarks.
Comparing Different Raspberry Pi Models

Since their initial launch, Raspberry Pi models have evolved dramatically in processing power, memory capacity, and specialized features to serve diverse computing needs.
The Raspberry Pi 5 outperforms the Pi 4 with its Broadcom BCM2712 SoC, delivering 2-3 times the CPU performance and introducing PCIe expansion capabilities for NVMe SSDs. The new model also supports dual 4K monitors, significantly enhancing display capabilities for users.
When examining Raspberry Pi specifications, you’ll find distinct tiers: the flagship Pi 5 with 4GB/8GB RAM options starting around $50, the versatile Pi 4 Model B, the more modest Pi 2 Model B with its quad-core processor, and the ultra-compact Pi Zero series for space-constrained projects. The Pi Zero W model notably offers built-in Wi-Fi connectivity while maintaining an extremely affordable $10 price point.
Memory configurations range from the Zero’s 512MB to the Pi 5’s 8GB, with prices scaling accordingly.
Raspberry Pi comparisons reveal purpose-built functionality across the lineup, from the Zero’s minimal footprint to the Pi 5’s RP1 I/O controller optimizing camera and display performance.
Setting Up Your First Raspberry Pi
Setting up your first Raspberry Pi requires gathering essential hardware components including the Pi board, microSD card, power supply, and peripherals for interaction.
You’ll need to install an operating system like Raspberry Pi OS onto your microSD card using the Raspberry Pi Imager tool, which allows you to customize settings during installation. Make sure to select a microSD card with at least 32GB for the full Raspberry Pi OS or 16GB for the Lite version.
After booting your Pi for the first time, you’ll configure basic settings such as timezone, locale, and network connections to prepare your device for your specific project needs. For wireless capability, you’ll need to add a USB Wi-Fi dongle to connect your Raspberry Pi to your home network.
What is a Raspberry Pi? Here is the Required Equipment
Five essential components form the foundation of any Raspberry Pi setup: a reliable power supply, input devices, display output, storage media, and protective casing. For peak performance, choose equipment that matches your project needs.
- Power supply: Use a 5V/3A USB-C adapter for Pi 4/5 models to prevent frustrating voltage drops and random reboots.
- Input devices: Connect USB/Bluetooth keyboards and mice, or explore GPIO-based buttons and sensors for custom interfaces.
- Display output: Utilize HDMI connections for monitors/TVs or opt for a headless setup controlled remotely.
- Storage options: Install your OS on a quality microSD card, with USB drives providing expanded capacity.
The Raspberry Pi’s versatile software ecosystem offers flexibility to install multiple operating systems for projects ranging from media centers to robotics applications.
Don’t underestimate quality casing protection—proper cases shield your Pi while ensuring adequate cooling and port accessibility. For enhanced functionality, consider adding cooling solutions like heat sinks or fans to manage temperature during extended operation.
Install Operating System
Once you’ve gathered all your hardware components, it’s time to breathe life into your Raspberry Pi by installing an operating system. The Raspberry Pi Imager is your best tool for this task, allowing you to select and write the OS to your microSD card with minimal installation challenges. You’ll need to ensure you have Wi-Fi credentials ready during setup for internet connectivity. The installation involves a few clicks to set up the software on your computer before using it to flash the SD card.
| Step | Action | Benefit |
|---|---|---|
| 1 | Select Pi model | Guarantees OS compatibility |
| 2 | Choose OS version | Matches your project needs |
| 3 | Pick storage device | Prevents data loss |
| 4 | Configure settings | Enables OS customization |
During setup, you can preconfigure hostname, enable SSH, and set security credentials before first boot. While NOOBS and Etcher offer alternatives, Raspberry Pi Imager provides the most streamlined experience. For advanced projects, newer Pi models support booting from USB drives or SSDs, offering improved performance over standard microSD cards.
Configure Basic Settings
After successful OS installation, your Raspberry Pi needs proper configuration to function efficiently. Power up your device with all peripherals connected and navigate to the configuration tools either through the desktop GUI (Preferences > Raspberry Pi Configuration) or terminal command `sudo raspi-config`.
Focus on these essential settings:
- Change the default password immediately for basic security
- Configure hostname and network setup (Ethernet or Wi-Fi connection)
- Set your locale, time zone, and keyboard layout
- Enable required services like SSH or VNC for remote access
The Raspberry Pi is remarkably flexible—you can easily reconfigure settings as your projects evolve. Full desktop users will be automatically logged in to the X windows manager where you can access the terminal via its icon. For beginners, skip updates initially to proceed faster with setup while allowing background processes to complete.
For headless setups, properly configuring network settings becomes vital. Remember that configuration mistakes aren’t permanent; you can always reset by re-imaging your SD card.
Popular Operating Systems for Raspberry Pi
When choosing an operating system for your Raspberry Pi, you’ll find several options tailored to different needs and use cases.
Raspberry Pi OS offers the best hardware support and stability as the official distribution, with both desktop and lite versions available for different project requirements.
For those seeking newer software packages, Ubuntu features desktop and server variants with faster update cycles, though it’s more resource-intensive and best for Pi 4 or newer models.
If you’re building a media center, LibreELEC benefits include optimized video playback through Kodi with minimal overhead.
Advanced users might prefer Manjaro ARM’s rolling release model, providing cutting-edge software updates based on Arch Linux for maximum customization, though possibly with trade-offs in stability.
Gaming enthusiasts can transform their Pi into a retro gaming console with Lakka, which features automatic controller recognition and easy network sharing for transferring game files.
Security-focused users can install Kali Linux for ethical hacking tools and penetration testing capabilities on their Raspberry Pi devices.
GPIO Pins and Hardware Interfacing

Raspberry Pi’s GPIO pins serve as the gateway to hardware interfacing, operating at 3.3V logic levels with strict current limitations of 16mA per pin.
You’ll find 40 pins on modern Pi models that support various communication protocols including I2C, SPI, and UART, enabling connections to LEDs, sensors, buttons, and more complex modules.
Adding components like resistors or level shifters is essential when connecting to non-compatible voltages, protecting your Pi while expanding its capabilities beyond simple computing tasks. Upon power-on, all GPIO pins default to input state except for GPIO_14 and GPIO_15 which are preconfigured for UART functionality. For more advanced debugging, early stage UART can be enabled to troubleshoot boot issues when standard interfaces aren’t responsive.
Understanding GPIO Fundamentals
The GPIO (General Purpose Input/Output) pins form the backbone of Raspberry Pi’s hardware interaction capabilities, serving as the physical bridge between your mini-computer and the external world. Most Pi models feature a 40-pin header with various pin types for different functions.
- GPIO Types: Pins can operate as inputs or outputs, with some providing power (3.3V or 5V) and others serving as ground connections to complete your circuits.
- GPIO Safety: All pins operate at 3.3V logic levels—applying higher voltages directly risks permanent damage, so use voltage dividers when necessary.
- GPIO Programming: Control pins using Python libraries like RPi.GPIO or gpiozero to read inputs and set outputs.
- GPIO Applications: Connect sensors, LEDs, motors, and displays to create everything from home automation systems to robotics projects. Understanding the difference between BCM and BOARD numbering systems is crucial when writing code to interface with your hardware. The pins also support various communication protocols like I2C, SPI, and UART for connecting specialized devices.
Common Interfacing Projects
With GPIO pins as your gateway to the physical world, numerous exciting hardware projects become possible for makers of all skill levels. You can start with simple LED control projects using buttons and switches, then advance to motor control for robotics projects that incorporate servos for precise movements.
Sensor integration opens opportunities to build environmental monitoring stations that collect temperature, humidity, and pressure data. Camera interfacing enables everything from time-lapse photography to AI-powered image processing using OpenCV.
For home automation enthusiasts, connect relays to control appliances and lighting systems remotely.
Display projects allow you to visualize sensor data on screens or create interactive dashboards. Throughout these applications, proper circuit design with components like resistors and H-bridges guarantees your projects operate safely and efficiently.
Exciting Projects You Can Build With a Raspberry Pi
Releasing your creativity with single-board computing has never been more exciting than with the diverse range of projects you can build using a Raspberry Pi.
From smart home automation to personalized robotics, these powerful mini-computers offer endless possibilities for innovation.
- DIY Smart Home Control Panel – Create touchscreen interfaces to manage lights, cameras, and IoT devices with real-time updates
- Doorbell Notifier System – Receive email snapshots when visitors arrive using a Pi-connected webcam
- Christmas Lights Manager – Synchronize holiday displays with music using relays and programmed controllers
- Home Automation Assistant Robot – Build an autonomous beverage delivery system with machine learning for obstacle avoidance
With accessible components and community support, you’ll transform your living space into a technological playground while developing valuable skills.
Educational Applications in Schools and Universities

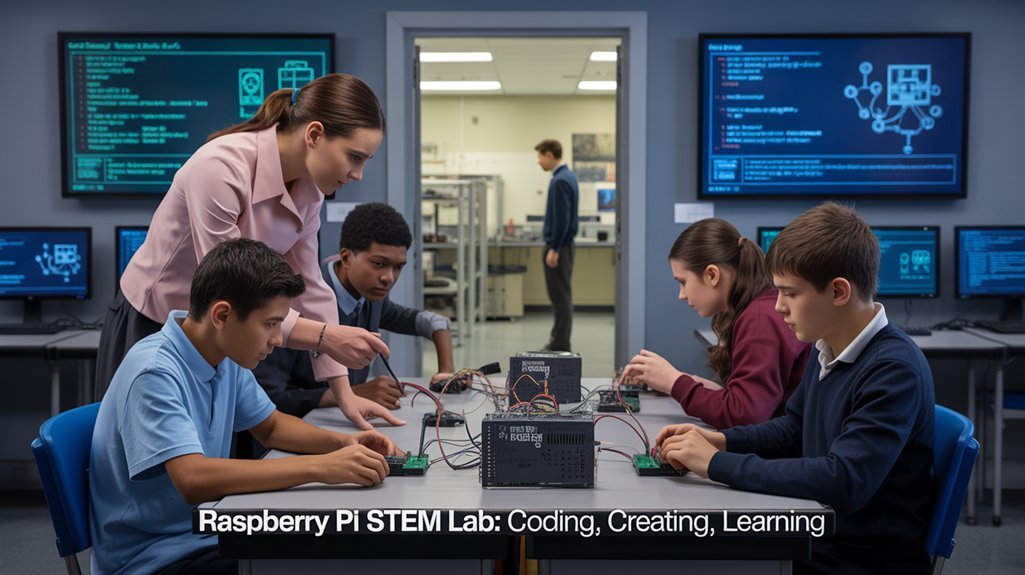
Educational institutions worldwide have embraced Raspberry Pi as an invaluable teaching tool that transforms traditional computer science education into interactive, hands-on learning experiences. This affordable mini-computer integrates seamlessly into STEM curricula, facilitating project-based learning that develops both technical skills and collaboration abilities.
You’ll find classrooms using Raspberry Pi to teach everything from basic programming to advanced concepts like distributed computing and IoT applications. The robust community support provides educators with free curriculum resources, while students benefit from real-world applications that bridge theoretical concepts with practical implementation.
Assessment techniques including digital portfolios and peer reviews track progress effectively. What makes Raspberry Pi particularly powerful is its educational accessibility—schools can deploy multiple units without significant financial burden, democratizing hands-on experiences in computing education and preparing students for innovation-driven careers.
Power Management and Cooling Solutions
Managing power efficiently on your Raspberry Pi requires understanding the delicate balance between performance and energy consumption, especially when deploying projects in remote or battery-powered environments.
Power efficiency can be remarkably improved through specialized HATs and software tools that extend battery life and protect your system.
- UPS HATs support various power sources including solar panels and Li-ion batteries while providing safeguards against power interruptions
- Command-line utilities like `vcgencmd` and third-party tools enable monitoring and controlling power consumption
- Scheduling shutdown/startup with `cron` reduces energy use by running your Pi only when needed
- Thermal management solutions including temperature-triggered actions prevent overheating while optimizing performance
For maximum efficiency, consider underclocking your CPU, disabling unused peripherals, and implementing power-saving scripts during inactivity periods—essential strategies for battery-powered applications.
Frequently Asked Questions
Can a Raspberry Pi Run Windows 11 or MacOS?
You’d love to run Windows 11 or macOS on your Pi, wouldn’t you? Unfortunately, Windows compatibility is limited to experimental ARM builds, while macOS support is completely nonexistent due to architectural incompatibilities.
How Long Does a Raspberry Pi Typically Last Before Failing?
Your Raspberry Pi’s lifespan typically reaches 7-10 years in practical use, though the board itself can last 20-40 years. The microSD card will fail first, limiting your Pi’s overall durability.
Can Raspberry Pi Mine Cryptocurrency Effectively?
Like a hummingbird trying to lift a boulder, your Raspberry Pi can’t mine cryptocurrency effectively. It lacks the power for efficient algorithms, yielding negligible returns despite its low energy consumption.
Is a Raspberry Pi Powerful Enough for AI Applications?
Standard Pi models can handle basic machine learning tasks, but you’ll want AI acceleration modules for neural networks. These add-ons boost performance up to 13 TOPS, making complex AI applications viable.
Can Raspberry Pi Replace My Desktop Computer for Everyday Use?
You can replace a basic desktop with a Raspberry Pi, but you’ll face desktop performance limitations and application compatibility issues with intensive tasks. It’s suitable for browsing, document editing, and media consumption.
What is a Raspberry Pi, and What can it be Used For?
Your Raspberry Pi journey’s just beginning! This impossibly tiny computer packs a universe of computing power that’ll transform how you interact with technology. Whether you’re automating your entire home or teaching children to code, the Pi’s limitless potential makes it the most versatile device you’ll ever own. With proper setup and cooling, you’ll reveal computing possibilities that were unimaginable just a decade ago.
