You might occasionally find yourself slightly challenged when setting up your Raspberry Pi without the right configuration tools. Raspi-config serves as your command center for managing everything from basic OS settings to advanced hardware interfaces. It’s the difference between spending hours editing config files manually or completing your setup in minutes. Whether you’re building a headless server or configuring GPIO pins, understanding this powerful utility will transform how you approach Pi projects.
Key Takeaways
- Raspi-config is a command-line utility for configuring Raspberry Pi OS, accessible via terminal using `sudo raspi-config`.
- Navigate the text-based interface with arrow keys, Enter to select, Esc to return, and first-letter shortcuts for quick menu access.
- Configure security settings by changing default credentials, disabling automatic login, and creating new sudo-enabled users.
- Manage network settings including hostname customization, Wi-Fi connections, SSH activation, and IP addressing configuration.
- Control boot behavior by selecting between CLI or desktop interfaces, configuring auto-login preferences, and modifying hardware interfaces.
What Is Raspi-Config and Why It Matters
When you first boot up a Raspberry Pi running any version of Raspberry Pi OS, you’ll encounter raspi-config—a powerful command-line utility that serves as the central configuration hub for your device.
Raspi-config stands as the command nerve center of your Pi, simplifying complex settings through an accessible interface.
This essential tool provides consolidated access to modify both hardware and software settings without requiring a desktop environment. The ability to access and configure system settings directly from command line enhances the overall user experience.
The Raspi Config benefits are particularly evident in headless setups or when using Raspberry Pi OS Lite, where no GUI exists.
You’ll gain access to advanced configuration options affecting critical files like /boot/firmware/config.txt that control system behavior. This user-friendly utility can be easily accessed via terminal by typing sudo raspi-config command.
Configuration importance can’t be overstated—it impacts everything from security (changing default credentials) to performance optimization (adjusting CPU/GPU memory split). Properly configuring your Pi using this tool can help maximize its full Linux OS capabilities.
Whether you’re a beginner appreciating the menu-driven interface or a system administrator leveraging its non-interactive mode, raspi-config streamlines essential setup tasks. Navigation is intuitive with arrow keys for scrolling through the various configuration options.
Accessing and Navigating the Raspi-Config Interface
To access the Raspi-Config interface, you’ll need to open a terminal window and enter the command `sudo raspi-config`. This tool comes preinstalled on all versions of Raspberry Pi OS, ensuring you have the necessary configuration options readily available.
If you prefer GUI access, find it under Preferences > Raspberry Pi Configuration, though this version offers fewer options than the CLI tool. The CLI tool is particularly useful for system administration tasks and automating configurations.
Navigate the text-based interface styles using arrow keys to scroll through menu items and Enter to select. Toggle between on-screen buttons with Tab, and use Esc to return to previous menus. For efficient menu exploration, press the first letter of an item to jump directly to it—particularly useful in long lists like timezone selection. The interface provides clear visual feedback during navigation and displays available keyboard shortcuts at the bottom of each screen. Remember to select “Finish” at the bottom of the main menu when you’re done to apply your changes, which may prompt you to reboot for full implementation. This terminal-based configuration tool demonstrates the power of command-line interface for system administration tasks.
Essential System Options for Customizing Your Pi

You’ll find essential security through proper password management, which protects your Pi from unauthorized network access and requires verification with your current password before changes. Additionally, securing your Raspberry Pi with regulated power supply helps maintain stable operation and prevents damage from voltage fluctuations.
Custom hostname configuration enables clear device identification on networks, requiring only alphanumeric characters and hyphens, with changes taking effect after rebooting.
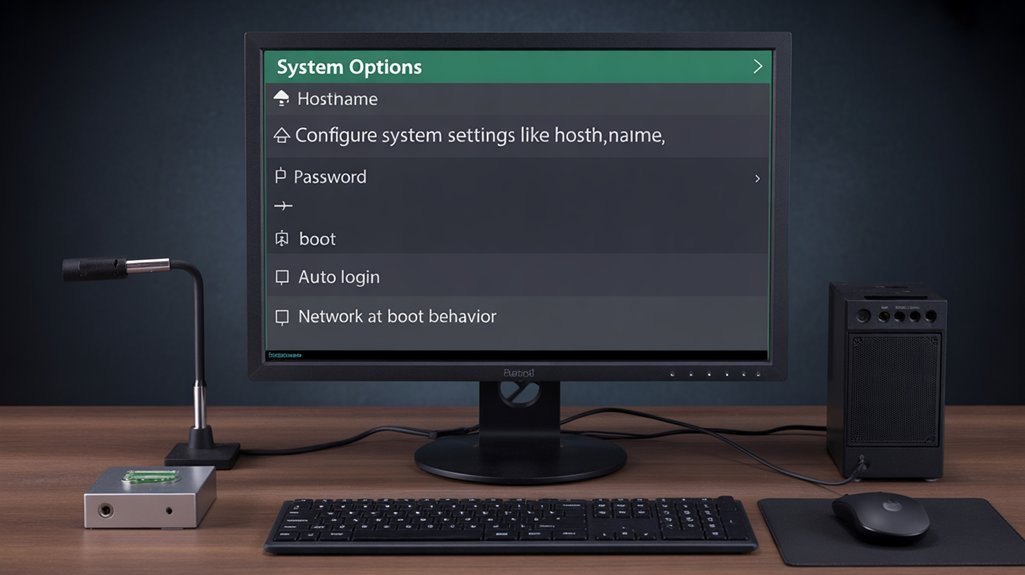
Control your Pi’s boot behavior by selecting CLI or desktop interfaces, configuring auto-login preferences, and determining whether your system waits for network connectivity during startup. The utility operates through a graphical interface designed to simplify the configuration process for users with varying technical expertise. Always back up configurations before making any changes to ensure you can restore your system if problems arise.
Password Protection Setup
Securing your Raspberry Pi with proper password protection represents four essential layers of defense against unauthorized access.
Begin by changing the default password through `sudo raspi-config`, selecting option 2 to invoke the `passwd` utility. Next, disable automatic login via Boot Options to enforce authentication at startup—critical for physical security. For added security, consider implementing a lock screen option by creating a desktop shortcut file. Additionally, ensure that your Pi is protected by using SSH key authentication for stronger security against unauthorized access.
For enhanced password security, update the default “pi” user credentials by creating a new sudo-enabled account with `sudo useradd -m
Finally, modify `/etc/sudoers.d/010_pi-nopasswd` to require password verification for sudo commands, and consider using Raspberry Pi Imager’s pre-configuration options to establish secure credentials during initial setup.
Hostname Configuration Mastery
Customizing your Raspberry Pi’s hostname represents a fundamental aspect of system personalization that enhances network identification and management. Access this feature through `sudo raspi-config` under Network Options or System Options, depending on your version.
When selecting a hostname, follow these hostname best practices: use only lowercase letters, numbers, and hyphens; keep it under 63 characters; avoid beginning or ending with hyphens; and make sure it’s unique on your network. Valid examples include “pi-media-center” or “lab-pi01”.
While changes apply immediately, a reboot maximizes hostname visibility across all services. Opening a new terminal prompt will often display your updated hostname without requiring a full system restart. Checking your hostname is simple by typing the command ‘hostname’ in the terminal to verify the changes took effect. For advanced users, alternative methods include `hostnamectl` or direct edits to `/etc/hostname` and `/etc/hosts` files.
Choose descriptive names that simplify identification when managing multiple devices.
Boot Behavior Control
Beyond identity configuration, the Raspberry Pi’s boot behavior represents a key area where system customization substantially impacts everyday usability and specialized deployments.
Through raspi-config‘s System Options menu, you’ll find four primary boot modes that determine how your Pi starts: Desktop with manual login, Desktop Autologin, CLI manual, or CLI Autologin. For headless applications, enabling CLI Autologin streamlines operation allowing scripts to execute immediately without user interaction. This feature is particularly useful in remote access scenarios, where immediate access to the command line is required.
For advanced scenarios, bootloader configuration options let you modify boot priorities on Pi 4 and newer devices, enabling USB or network boot failover paths. The Raspberry Pi uses config.txt file instead of a traditional BIOS to control its boot process and hardware configuration.
Critical systems can leverage GPIO settings through config.txt parameters to trigger specialized boot modes like RPIBOOT, essential for recovery operations or OTP programming.
The config.txt file further extends control by enabling hardware interfaces at boot time and supporting initramfs auto-loading for custom rootfs configurations. These options collectively transform how your Pi powers into action.
Network Configuration and Remote Access Settings

Properly configuring network settings on your Raspberry Pi enables seamless remote access and management, which proves essential for both headless setups and networked applications.
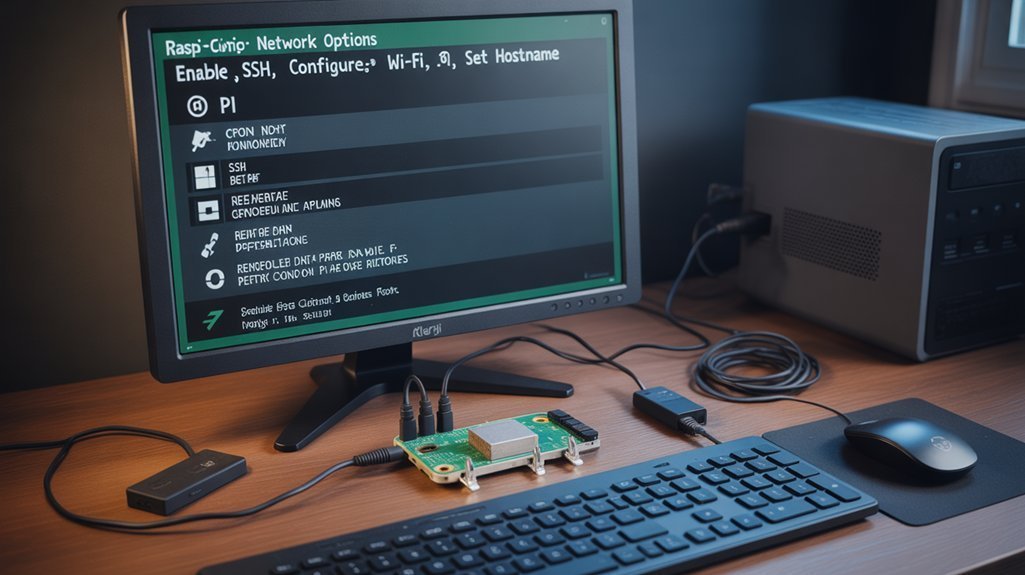
Using raspi-config, you can modify your Pi’s hostname, connect to Wi-Fi networks, and configure boot-time network behavior without complex command-line operations.
- Enable SSH through raspi-config to establish secure remote terminal access while maintaining network security, which is vital for a headless setup where no monitor is used.
- Configure static or dynamic addressing based on your network infrastructure requirements.
- Set hostname to uniquely identify your Pi when multiple devices share your network.
- Toggle “wait for network at boot” when your services require guaranteed connectivity.
After configuration, you may need to use IP scanner tools to discover your Pi’s address on the network.
For headless setups, combining CLI boot mode with SSH activation creates an efficient remote management environment.
Predictable network interface naming remains disabled by default but proves valuable for multi-interface configurations.
Be aware that recent versions of Raspberry Pi OS have switched to NetworkManager as the default network configuration manager, which affects how connections are managed and stored.
Localizing Your Raspberry Pi for Regional Use
Your Raspberry Pi’s user experience can be optimized through proper language and regional settings that match your geographic location.
You’ll need to configure your locale settings to display text in your preferred language and format dates, times, and numbers according to regional conventions. Proper configuration enhances your experience by displaying familiar formats in applications and the terminal.
Setting the correct time zone guarantees your system clock displays accurate local time, which is essential for scheduled tasks, logs, and timestamps in applications. The intuitive raspi-config utility makes navigating through these regional configuration options straightforward with its menu-based interface.
Language Settings Management
Why does a Raspberry Pi need proper language configuration? Your Pi’s locale settings determine how it displays text, formats dates, currencies, and interprets keyboard inputs. Properly configured language preferences guarantee seamless interaction with your system, especially when developing applications for diverse markets. Additionally, managing locale settings effectively is crucial for ensuring compatibility with various software packages.
To efficiently manage your Pi’s language settings:
- Use `sudo raspi-config` and navigate to “Localisation Options” to select appropriate locale settings.
- Configure keyboard layouts separately—changing locale doesn’t automatically update your keyboard configuration.
- Verify available locales with `locale -a` command to confirm your preferred option is installed.
- Address encoding issues by properly generating locales for your regional formats.
Many users report that changing language settings through the graphical interface provides a more user-friendly experience with minimal effort required.
After making changes, remember to reboot your Pi for the new language settings to take full effect across all applications. For those who frequently adjust language settings, the dpkg-reconfigure locales command provides a faster alternative to the raspi-config tool.
Regional Time Configuration
While working with a Raspberry Pi, accurate time configuration is essential for proper system operation, log management, and scheduled task execution. You can quickly set the time zone using `sudo raspi-config`, proceeding to Localisation Options > Timezone, then selecting your region and city. For advanced time management, you can list all timezones with the timedatectl list-timezones command. Remember that Raspberry Pi lacks RTC and depends on internet connectivity to maintain correct time. Additionally, mastering Linux operating system fundamentals will enhance your overall experience with configuring your Raspberry Pi.
| Method | Command | Usage Scenario |
|---|---|---|
| raspi-config | `sudo raspi-config` | Beginner-friendly interface |
| timedatectl | `timedatectl set-timezone Region/City` | Quick CLI configuration |
| NTP | `sudo timedatectl set-ntp true` | Enable time synchronization |
| GUI | Preferences > Raspberry Pi Configuration | Visual configuration |
| Manual | Edit `/etc/systemd/timesyncd.conf` | Custom NTP server setup |
Proper regional configuration guarantees your Pi correctly handles local daylight saving changes automatically. For missing locations, select the nearest city in your time zone as a practical workaround.
Working With Advanced Hardware Interface Options

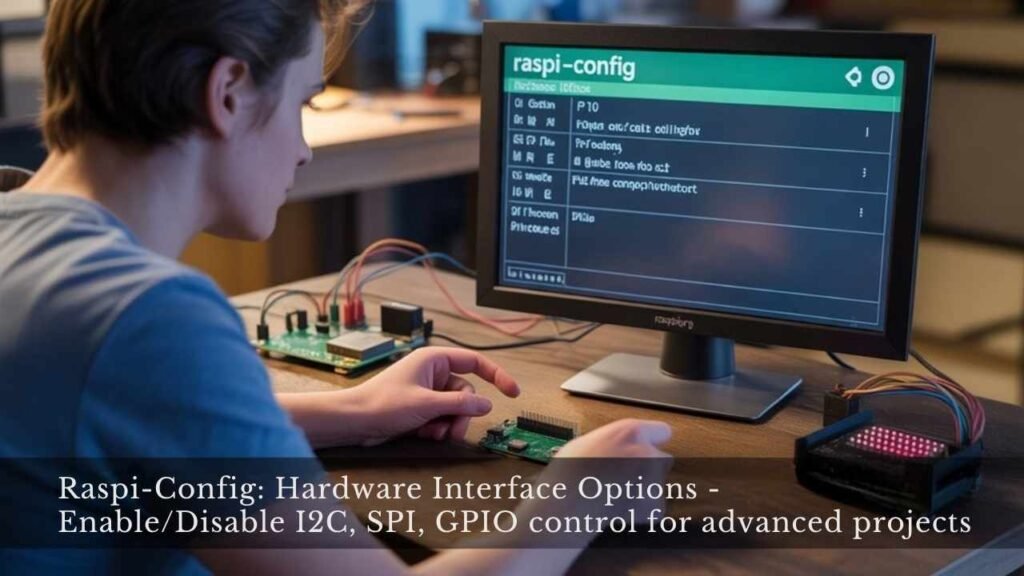
When working with a Raspberry Pi for more advanced applications, you’ll need to master the configuration of hardware interfaces beyond the basic capabilities. The raspi-config tool provides essential control over these interfaces through its Interface Options menu, allowing you to enable only what’s necessary for your project.
- Camera interface activation loads required drivers for image capture projects.
- SSH configuration enables remote access but requires immediate password changes for security.
- SPI communication and I2C control connect external sensors via four-wire or two-wire buses respectively.
- Serial interface, 1-Wire integration, and Remote GPIO extend functionality for specialized hardware peripherals.
Enabling only the interfaces you need optimizes system resources and reduces potential security vulnerabilities—a critical practice for innovative IoT and automation projects. Additionally, understanding GPIO pin configurations is vital for ensuring proper communication between your Raspberry Pi and connected devices.
Boot Behavior and Performance Optimization
Every Raspberry Pi’s boot process involves multiple critical stages that can be optimized to reduce startup time and enhance overall performance.
Begin by updating your firmware and kernel to guarantee maximum hardware compatibility and efficiency.
Analyze boot stages using `systemd-analyze critical-chain` to identify bottlenecks in service optimization. Disable unnecessary services and consider headless operation for significant speed improvements.
Implement kernel tweaks through `/boot/cmdline.txt` by adding parameters like `quiet`, `noatime`, and `nodiratime` to reduce I/O operations and console verbosity.
For advanced users, adjust bootloader efficiency through `rpi-eeprom-config` and fine-tune SDRAM settings.
Reducing logging adjustments minimizes disk writes during startup. Measure your performance metrics before and after changes to validate improvements, as combining multiple small optimizations can collectively reduce boot time by 30-50%. Additionally, ensuring robust physical security measures can enhance the overall reliability of your Raspberry Pi setup.
Direct Editing vs. Raspi-Config: Understanding Config.Txt

Beyond boot optimization, the configuration of your Raspberry Pi’s hardware and system parameters is controlled through a single critical file: `config.txt`. This file, located on the boot partition, can be modified through two distinct approaches: directly editing the file or using the Raspi-Config utility.
- Direct editing offers precise control using `property=value` syntax and loading overlays, but requires technical knowledge of valid parameters.
- Raspi-Config provides a safer interface with automated parameter validation, preventing syntax errors that could brick your device.
- Backup strategies are essential before any direct edits—always preserve your original configuration.
- Editing methods include using terminal editors like nano, or mounting the SD card on another computer.
While Raspi-Config handles common configurations, direct editing enables advanced customizations beyond the tool’s capabilities.
The heart of Pi customization lies in config.txt—your gateway to hardware control through direct edits or guided configuration.
Troubleshooting Common Configuration Issues
Despite the user-friendly interface of Raspi-Config, Raspberry Pi users frequently encounter configuration challenges that require targeted troubleshooting approaches.
Serial conflicts often emerge when UART pins are simultaneously accessed by both applications and the getty service, requiring manual edits to /boot/config.txt beyond raspi-config’s limited options.
Configuration freezes typically stem from whiptail dependencies or terminal compatibility issues—accessing via SSH can help bypass these interface failures.
Upgrade hurdles manifest when attempting to update raspi-config on outdated OS versions; reimaging with newer releases (Buster+) is recommended instead of troubleshooting legacy systems.
Network reliability problems include DHCP failures on eth0 interfaces that may require static IP assignment as a workaround.
While hostname and SSH settings generally succeed, locale and timezone configurations sometimes fail, indicating inconsistent feature testing in official releases.
Time-Saving Shortcuts and Expert Tips

While resolving configuration challenges can be time-consuming, mastering Raspi-Config’s shortcuts transforms the experience into a streamlined process.
Mastering keyboard shortcuts in Raspi-Config turns tedious setup tasks into efficient, streamlined processes worth learning.
You’ll save valuable minutes by leveraging keyboard navigation and time saving techniques that eliminate redundant steps.
- Press letter keys to jump alphabetically through lists—type “E” to quickly reach Europe in the timezone menu.
- Combine related configuration tasks into single sessions to minimize menu navigation.
- Use Tab to toggle between action buttons and Esc to exit menus, speeding up your workflow.
- Access CLI version for advanced options unavailable in GUI, enabling powerful automation scripts.
For headless setups, these shortcut keys are essential.
Plan your configuration changes strategically by grouping system options, performance tweaks, and interface toggles for maximum efficiency.
Frequently Asked Questions
Can Raspi-Config Modify Multiple Pis Simultaneously Over a Network?
No, you can’t use raspi-config for network synchronization across multiple Pis simultaneously. It’s designed for single-device configuration only. For remote management of multiple devices, consider Ansible or custom scripts instead.
How Does Raspi-Config Handle Conflicting Settings Between Different Configuration Files?
Like Prometheus caught between divine forces, raspi-config lacks explicit conflict resolution. It prioritizes settings in config.txt, with later entries taking precedence, but won’t detect conflicts across different configuration files’ boundaries.
Are Raspi-Config Changes Backed up Automatically Before Modifications?
No, raspi-config doesn’t implement automatic backup procedures before modifications. You’ll need to manually create configuration management safeguards by backing up critical files like /boot/config.txt before applying changes.
Can Raspi-Config Be Scripted for Automated Deployments?
Picture yourself typing “raspi-config” manually on a thousand Pis—hilarious! Yes, you can script raspi-config using its nonint mode for deployment automation. Simply use “raspi-config nonint do_command value” in your scripts.
Does Raspi-Config Work Differently on Different Raspberry Pi Models?
You’ll find raspi-config features comparison varies between Pi models. Newer boards offer expanded configurations while maintaining core functionality. Model-specific quirks emerge in hardware interfaces, power management, and boot options your deployments should accommodate.
How Are You Going to Use Raspi-Config?
You’ve now mastered Raspi-Config, your Pi’s command-line control center. Like a skilled electrician’s junction box, it gives you precise access to every critical connection and setting without needing to splice individual wires. When troubleshooting fails, remember that a simple `sudo raspi-config` often resolves what hours of manual configuration cannot. Implement these techniques systematically, and you’ll transform configuration from a tedious necessity into an efficient, methodical process.
