Like a digital command center hidden inside your tiny computer, Raspberry Pi configuration represents the brain behind your device’s functionality. You’ll need to understand this system to access your Pi’s full potential, from hardware interfaces to networking capabilities. The config.txt file and raspi-config utility work together to give you control over essential settings that determine how your Pi behaves. Mastering these configuration tools will transform your basic board into a customized computing powerhouse.
Key Takeaways
- Raspi-config is a utility that modifies critical system files like /boot/firmware/config.txt to manage Raspberry Pi settings.
- Config.txt controls hardware interfaces, display settings, overclocking parameters, and audio configurations before the OS loads.
- The utility offers both interactive mode with arrow-key navigation and non-interactive mode for automation and scripting.
- Network configuration can use DHCP or static IP addresses, with static IPs providing more reliable remote access.
- Common Raspberry Pi configuration issues include GPIO problems, power supply limitations, boot failures, and unstable systems requiring specific troubleshooting.
Understanding the Raspberry Pi Configuration System
Configuration management lies at the heart of every Raspberry Pi system. At its center is the raspi-config utility, a powerful text-based interface that acts as the primary gateway to customize your Pi’s behavior. This essential tool modifies critical system files like `/boot/firmware/config.txt`, which functions similarly to a traditional BIOS on other computers. You’ll find raspi-config offers extensive control over system performance through various categories including system options, display settings, interface management, and performance tuning. The utility prioritizes user accessibility with intuitive navigation using arrow keys and keyboard shortcuts.
For advanced users seeking innovation, raspi-config supports both interactive and non-interactive modes, enabling sophisticated configuration practices through automation scripts for mass deployments or complex setups. Additionally, it is crucial to understand how to update your system to ensure optimal performance and security. You can access this tool via the desktop GUI or by running it from the terminal as a superuser. Always remember to backup your configurations before making any changes to ensure you can recover from potential issues.
Essential Settings in the Raspberry Pi Config.txt File
The `/boot/firmware/config.txt` file houses five critical categories of settings that fundamentally control your Raspberry Pi’s behavior before the operating system even loads.
The config.txt file serves as mission control for your Raspberry Pi, orchestrating hardware behavior before Linux even wakes up.
You’ll find hardware interface settings like `dtparam=i2c_arm=on` and `dtparam=spi=on` that enable communication with external devices. For display optimizations, parameters such as `hdmi_group` and `disable_overscan` let you fine-tune your visual output.
Performance enthusiasts should explore overclocking tips through `arm_freq` and `over_voltage` parameters—though proceed cautiously to avoid hardware damage.
Audio configurations are managed with `hdmi_drive` and `dtparam=audio=on` settings that direct where sound outputs. Making a backup copy of the config file before modifications is highly recommended for system recovery if problems occur.
Remember that any changes require a reboot, as these settings initialize during early boot before the Linux kernel starts. You can check your current configuration using vcgencmd commands without having to reboot your system.
Using Raspi-Config Tool for Hardware Management

While manual editing of config.txt gives you direct control over the Raspberry Pi’s hardware settings, the raspi-config tool provides a more accessible and detailed approach to hardware management.
This text-based utility lets you navigate hardware configurations via arrow keys and simple selections, perfect for headless setups without a GUI. It is essential for users to understand how to connect their Raspberry Pi to a network via Ethernet or Wi-Fi, which is crucial for remote access and updates.
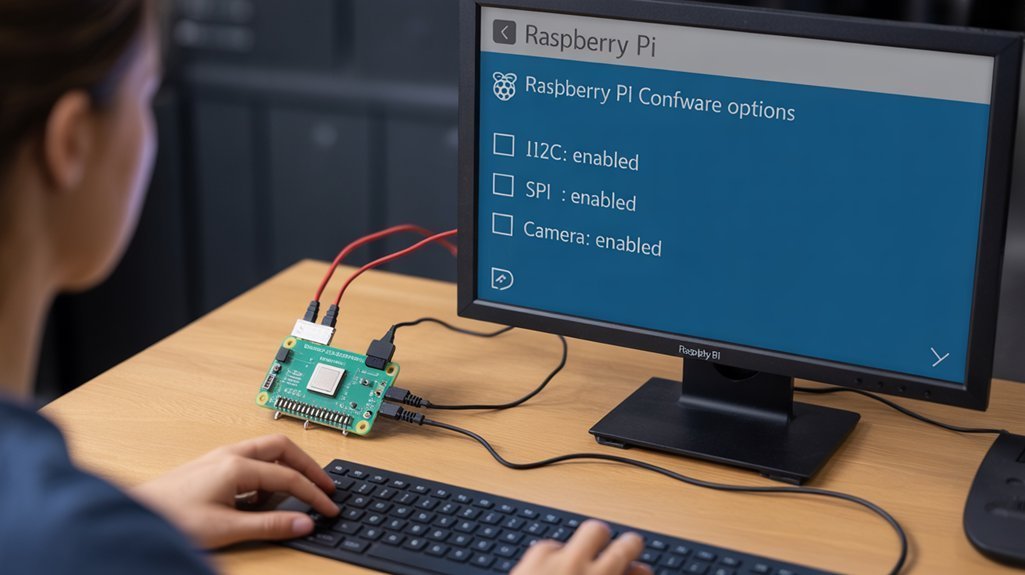
You’ll find extensive hardware interface options for enabling I2C, SPI, and serial ports—critical for connecting sensors and expansion modules. The tool’s user-friendly text menu interface simplifies these configuration tasks that would otherwise require command-line expertise.
Memory allocation settings let you optimize the CPU/GPU split based on your project requirements, allocating more to graphics for media centers or to the CPU for server applications. Proper adjustment of these settings can greatly enhance the performance of your Raspberry Pi.
For advanced users, raspi-config offers non-interactive mode for scripting automated deployments. This feature is invaluable when configuring multiple devices, reducing setup time and ensuring consistent configuration across your Pi fleet.
Changes made through raspi-config typically require selecting “Finish” and following the reboot prompt for full implementation.
Network and Remote Access Setup Options
Network connectivity and remote access represent foundational components of any Raspberry Pi setup, extending the hardware management capabilities we’ve explored through raspi-config.
Your Pi can obtain network addresses through DHCP setup (automatic) or Static IP configuration by editing `/etc/dhcpcd.conf` with specific address, gateway, and DNS values. Additionally, using static IP addresses can significantly enhance your ability to access the device predictably.
For reliable remote access, consider:
- Configuring Static IP addresses for predictable connections, especially when accessing your Pi from external networks
- Setting up Wi-Fi using `nmcli –ask dev wifi connect
` for wireless connectivity - Ensuring proper gateway and DNS settings to maintain internet connectivity
When switching between DHCP and Static IP, remember to reboot your Pi after editing configuration files. Backing up your current configuration with sudo cp /etc/dhcpcd.conf /etc/dhcpcd.backup is recommended before making changes.
With proper network connectivity established, you’ll reveal the full potential of your Raspberry Pi for innovative projects requiring remote administration. You can use the `ifconfig` command for temporary IP changes that will reset after the next system reboot.
Troubleshooting Common Configuration Issues

When troubleshooting your Raspberry Pi configuration issues, you’ll encounter several common problems that can prevent peak performance or cause complete system failure.
Incorrect GPIO troubleshooting begins with verifying pin numbering and checking for damage using a multimeter. It’s also essential to ensure that you are using the correct GPIO numbering system to avoid confusion.
Power supply issues manifest as peripheral failures or USB disconnects—try enabling max_usb_current=1 in config.txt for better device recognition.
Boot failures often stem from incompatible OS versions or SD card corruption. Use high-quality cards and proper imaging tools to prevent filesystem errors.
UART conflicts frequently arise when raspi-config settings clash with application needs—manually set enable_uart=1 in config.txt after disabling the port via raspi-config. After making serial port changes with raspi-config, always verify the contents of /boot/cmdline.txt to ensure proper console configuration.
For unstable systems, examine your overclocking settings and consider implementing a read-only filesystem to protect against unexpected shutdowns. When SSH connection fails persistently, setting a static IP address in /etc/dhcpcd.conf can significantly improve connection reliability.
Frequently Asked Questions
Can I Configure My Raspberry Pi Without a Display or Keyboard?
Yes, you can use a headless setup for your Raspberry Pi. Prepare the SD card with SSH enabled and Wi-Fi credentials, then access your Pi through remote access methods after booting.
How Do I Safely Overclock My Raspberry Pi for Better Performance?
Like releasing hidden power, safely overclock by editing config.txt incrementally. Start with 200MHz CPU increases, add proper cooling solutions, and monitor temperatures below 70°C to maximize overclocking benefits without throttling.
Will Changing Config.Txt Settings Void My Raspberry Pi Warranty?
No, modifying config.txt settings won’t void your warranty. The Pi’s hardware protects against dangerous voltage levels, minimizing config risks. Even aggressive overclocking has no warranty implications according to official statements.
Can I Use Multiple Raspberry Pis With the Same Configuration File?
You can share configuration files across multiple devices, but you’ll need to use conditional filters in config.txt to handle device-specific settings and customize unique parameters like IP addresses and hostnames.
How Do I Disable the Red Power LED During Nighttime Operation?
Silence that fiery beacon by adding “dtparam=pwr_led_trigger=none” and “dtparam=pwr_led_activelow=off” to your /boot/config.txt file. These LED settings guarantee distraction-free nighttime operation after a quick reboot.
Do you Have A Better Idea of How To Use Raspberry Pi Config?
You’ve now navigated the intricate landscape of Raspberry Pi configuration. Like a master craftsman with the right tools, you’re equipped to bend your Pi’s hardware to your will through config.txt and raspi-config. Remember, your Pi’s potential lies in these configuration files—digital blueprints that transform modest hardware into powerful computing solutions. When issues arise, you’ll diagnose them methodically, knowing exactly which settings require precision-tuning.
