Like a window into your Pi’s soul, VNC opens up remote possibilities you’ve never imagined. You’ll gain complete access to your Raspberry Pi’s desktop environment from anywhere—whether it’s across the room or across the globe. This powerful tool eliminates the need for dedicated monitors, keyboards, and mice, making headless setups truly practical. By mastering VNC on Raspberry Pi, you’ll transform how you interact with your Pi projects and unleash their full potential.
Key Takeaways
- VNC enables remote desktop access to Raspberry Pi systems from Windows, Mac, or Linux devices without requiring a dedicated monitor.
- Install RealVNC or TightVNC server using apt, then enable the service through Raspberry Pi Configuration or raspi-config.
- Secure your connection by changing default credentials, implementing SSH tunneling, and configuring firewall rules.
- Manage multiple displays with custom resolutions using commands like vncserver -geometry 1920×1080 :1.
- Optimize performance by reducing color depth, switching to wired Ethernet, and regularly updating VNC software.
Setting Up VNC Server on Your Raspberry Pi
Setting up a VNC server on your Raspberry Pi opens up a world of remote desktop possibilities, allowing you to access your Pi’s graphical interface from anywhere.
Turn your Pi into a portable workstation by accessing its desktop remotely from any device, anywhere.
Begin with initial installation by updating your system packages: run `sudo apt update` followed by `sudo apt upgrade` to guarantee you’re building on the latest software updates. This ensures that you have the latest security patches and performance optimization enhancements available.
Choose between two primary options: the official RealVNC server (install with `sudo apt install realvnc-vnc-server realvnc-vnc-viewer`) or the lightweight TightVNC alternative (`sudo apt install tightvncserver`).
Verify no conflicting VNC services are running before proceeding.
After installation, enable VNC through the Raspberry Pi Configuration tool (Menu > Preferences) or via terminal using `sudo raspi-config` and progressing to Interfacing Options.
This completes your basic setup for remote connectivity. For greater reliability, consider creating a systemd service file to ensure your VNC server starts automatically whenever your Raspberry Pi boots up. Once configured, you can create a custom tunnel to access your Pi’s VNC server remotely from anywhere with an internet connection.
Establishing Remote Connections to Your Pi
With your VNC server successfully installed and configured, the next step involves connecting to your Raspberry Pi from another device.
Verify both your Pi and client device share the same local network, then identify your Pi’s IP address using `hostname -I` in the terminal. This IP address is crucial for establishing a successful SSH connection to your Pi.
Install a compatible VNC client on your remote device and enter your Pi’s IP address to initiate the connection. You’ll need to authenticate using your previously created password. TigerVNC is highly recommended for its excellent compatibility with Raspberry Pi across multiple operating systems.
For secure remote access beyond your local network, consider implementing a VPN tunnel or using cloud-based services like RealVNC Viewer or Raspberry Pi Connect. These solutions eliminate complex port forwarding while maintaining security.
Optimize your VNC configuration by adjusting image quality settings to balance performance with bandwidth demands, particularly important when connecting over slower networks. Remember to check the configuration tool by running sudo raspi-config from the terminal if you encounter connection issues.
Essential VNC Commands for Everyday Use

You’ll need several key commands to manage your VNC server effectively on Raspberry Pi.
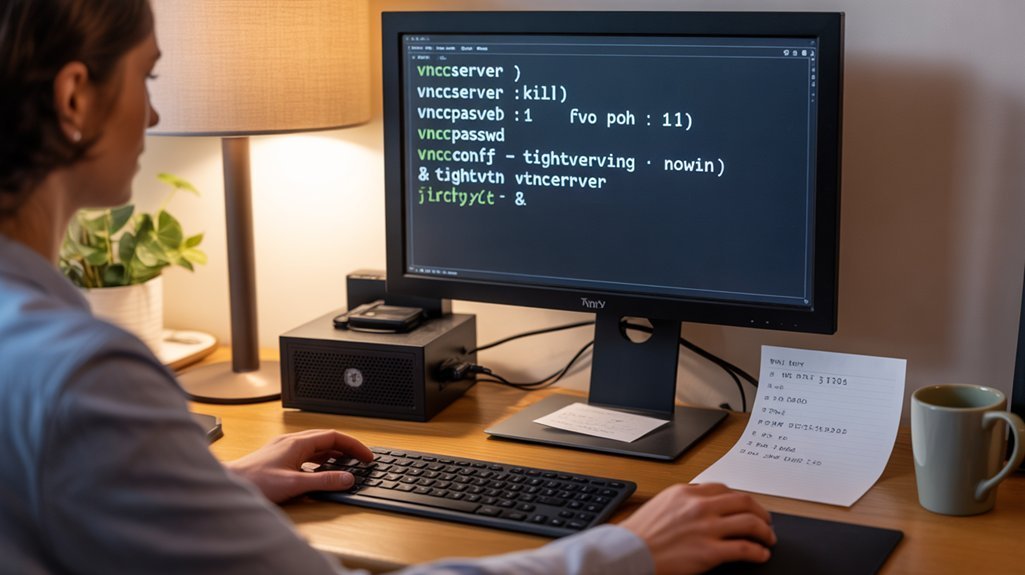
Start sessions with `vncserver :
When connection issues arise, check service status with `sudo systemctl status vncserver-x11-serviced.service` or restart the service using `sudo systemctl restart vncserver-x11-serviced.service`. Before troubleshooting, verify your SSH connection is stable to ensure proper remote access.
For security considerations, always ensure you’ve configured proper authentication when enabling remote administration of your Raspberry Pi through VNC.
Starting VNC Sessions
Once you’ve enabled VNC on your Raspberry Pi, mastering the essential commands for starting and managing VNC sessions becomes crucial for remote desktop control.
The primary command `vncserver` launches a new virtual desktop instantly, assigning it a display number starting from `:1`. Additionally, the Raspberry Pi’s quad-core processor ensures efficient performance during VNC sessions.
For effective VNC session management, use `vncserver -kill :
Check your session status anytime with `sudo systemctl status vncserver`.
For advanced users, right-clicking the VNC taskbar icon provides quick access to VNC display settings and configuration options. When connecting remotely from another device, using X11 forwarding allows graphical VNC applications to run over your SSH connection.
Remember to verify your Pi’s IP address with `hostname -I` before attempting connections. When troubleshooting display issues, users should keep in mind that HDMI connectivity can affect how VNC renders the desktop interface.
Managing Multiple Displays
Managing multiple displays through VNC on your Raspberry Pi opens powerful possibilities for remote administration and multitasking.
With multi session management, you can create independent workspaces for different projects or users. This flexibility is especially beneficial for advanced IoT developments where distinct environments may be required.
Check active sessions with `vncserver -list` and terminate specific displays using `vncserver -kill :
To enhance your VNC experience:
- Launch new virtual displays with `vncserver-virtual` to create separate workspaces without physical monitors.
- Customize display resolution using `vncserver -geometry 1920×1080 :1` for ideal viewing on different devices.
- Connect to specific displays by appending the display number to your IP address (e.g., 192.168.1.100:1).
For persistent sessions, enable autostart with `sudo systemctl enable vncserver-x11-serviced`, ensuring your displays remain available after reboots.
This setup is especially convenient for headless Raspberry Pi configurations where direct monitor connection is not available.
These configuration capabilities make VNC ideal for constant task execution without needing physical access to your device.
Connection Troubleshooting Commands
Troubleshooting VNC connections can become necessary even in well-configured Raspberry Pi setups. When facing session timeouts or authentication failures, start by verifying your VNC service status with `systemctl status vncserver-x11-serviced`.
Check if the server is actively listening using `curl -v telnet://127.0.0.1:5900` or examine open ports with `netstat -tuln`. A timeout indicates the service isn’t running properly. If you see a “Remote.It connected, but there is no service running” message, it typically means your VNC is disabled on the Raspberry Pi. Additionally, ensure that you have the latest community-driven regular updates installed to mitigate potential bugs.
Restart the VNC server with `sudo systemctl restart vncserver-x11-serviced` to resolve most service hang issues. If problems persist, confirm network accessibility by pinging your Pi’s IP address from the client device. If using pi-top hardware, you should navigate the Miniscreen to verify VNC settings are properly enabled.
For recurring connection issues, verify your VNC password with `vncpasswd` and make certain your router isn’t blocking port 5900.
Remember that headless setups require proper virtual desktop configuration to function correctly.
Securing Your Remote Access Environment

While gaining remote access to your Raspberry Pi through VNC offers convenience, it also introduces significant security considerations that shouldn’t be overlooked.
Standard VNC protocol lacks secure encryption, making SSH tunneling essential for protecting your connection from potential threats. SSH activation is an important feature to configure in Raspberry Pi OS for secure remote access.
Implement these critical security measures:
- Enable SSH tunneling for encrypted connections and switch default credentials immediately after installation to prevent unauthorized access. Default credentials for Raspberry Pi OS are username “pi” and password “raspberry” which should be changed promptly.
- Configure firewall rules to restrict VNC port access (5900) to trusted networks only, using tools like fail2ban to monitor suspicious login attempts.
- Implement multi-factor authentication when possible, and consider RealVNC Connect or VPN solutions for additional protection layers, especially when accessing your Pi over public networks. Set the VNC server to reject all connections except those from localhost for maximum security.
Practical Applications for Projects with VNC on Raspberry Pi
Virtual desktops on Raspberry Pi become genuinely transformative when applied to real-world projects.
In educational settings, you’ll enable student collaboration without physical peripherals, allowing instructors to monitor and assist remotely during coding sessions. This enhances the learning experience by leveraging strong software compatibility with various operating systems and community support.
For IoT enthusiasts, VNC delivers secure remote debugging and monitoring capabilities for home automation systems—configure lights, cameras, and sensors from anywhere.
Robotics control becomes streamlined as you can view camera feeds and sensor data while programming your devices without physical access.
Media management couldn’t be simpler; remotely configure Kodi or Plex servers without interrupting playback.
Software testing environments benefit from cross-platform accessibility, letting you compile and test GUI applications directly on the Pi.
The power of VNC lies in bringing full graphical desktop access to headless setups, dramatically expanding your project possibilities.
Remember to reserve an IP address for your Raspberry Pi to maintain consistent remote access through network reboots.
Performance Optimization and Connection Troubleshooting

When troubleshooting VNC connection issues, first check your firewall settings to verify port 5900 is open and your Pi’s IP address is correctly entered in your client application.
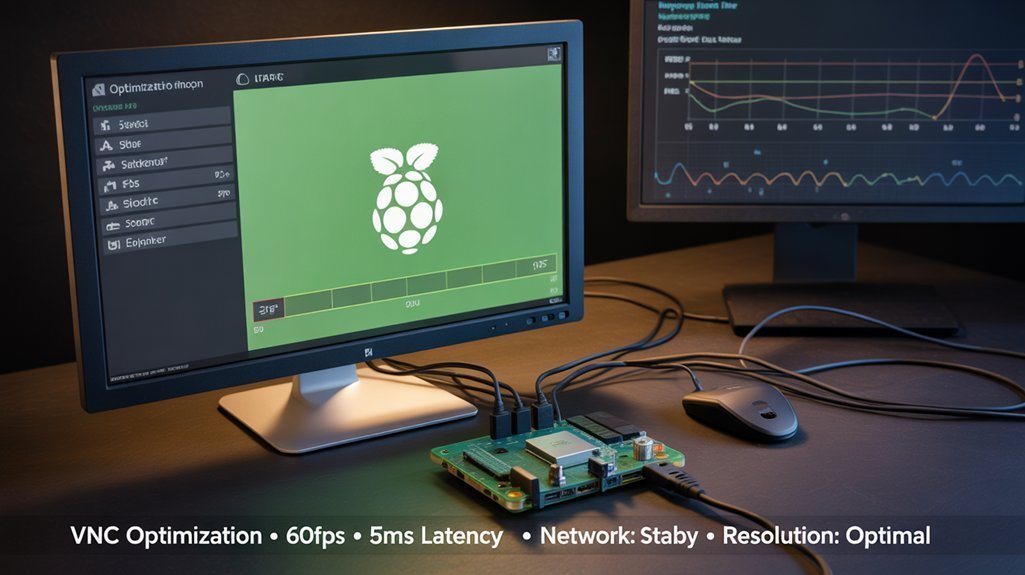
For smoother remote sessions, you’ll achieve significant performance gains by reducing your VNC resolution and color depth, especially when connecting over limited bandwidth connections. Official power supplies ensure stable voltage delivery, which can also enhance VNC performance. Installing noVNC can provide convenient web-based access that works across different browsers and devices without requiring dedicated client software. Disabling unused services can further improve VNC performance by freeing up valuable CPU and memory resources on your Raspberry Pi.
Consider switching from Wi-Fi to a wired Ethernet connection for your Raspberry Pi to minimize latency and maintain connection stability during extended remote work sessions.
Network Connection Fixes
Despite having VNC properly configured, you might still encounter connection issues that stem from network-related problems. Ensuring both devices share the same subnet is critical for connection stability. Verify your Pi’s IP address using `ip -4 addr show dev eth0 | grep inet` and consider implementing static IP addressing for consistent access. Time-out requests often occur when network configurations change unexpectedly. Additionally, network configuration can significantly impact connectivity and performance.
Firewall configurations often block VNC connections. To resolve this:
- Confirm port 5900 is open on both your Pi and network firewall.
- Configure port forwarding on your router when connecting from external networks.
- Temporarily disable firewalls to diagnose if network security measures are causing the issue.
For ideal performance, use Ethernet instead of Wi-Fi and reduce VNC resolution when connecting over slower networks. For Raspberry Pi Zero and Pi 1 models, consider disabling encryption in direct connections to significantly reduce CPU usage when operating on secure local networks. Regularly update both your VNC server and client software to maintain compatibility.
Resolution Tweaks
Fine-tuning your VNC display resolution can dramatically improve the remote desktop experience on your Raspberry Pi. For ideal performance, explicitly set your virtual desktop resolution using `vncserver-virtual -RandR=800×600` rather than accepting defaults.
Increase GPU memory allocation to at least 128MB through `raspi-config` to enhance graphical rendering and reduce lag, especially vital for older Pi models.
For resource-constrained devices, deliberately lowering resolution to 800×600 reduces processing load while maintaining usability.
Configure your VNC viewer’s encoding settings to JPEG with `AutoSelect=False` for consistent performance. This resolution management approach balances visual quality and responsiveness.
If you experience screen flickering or distortion, verify that server-client resolutions match and restart your VNC service after applying these ideal settings. Additionally, consider adjusting GPIO pin configurations to ensure optimal performance of connected peripherals during remote sessions.
Frequently Asked Questions
Can I Access My Raspberry Pi VNC Over the Internet?
Yes, you can access your Pi’s VNC over the internet. For proper remote access, use secure methods like RealVNC Connect, SSH tunneling, or PiTunnel to maintain VNC security instead of direct port forwarding.
Does VNC On Raspberry Pi Work With Headless Raspberry Pi Zero?
Like a hidden treasure waiting to be discovered, VNC works perfectly with headless Pi Zero. Enable it through SSH, complete your VNC configuration, and you’ll access your graphical interface remotely despite the headless setup.
Can Multiple Users Connect to the Same Pi Simultaneously?
Yes, you can enable multiple users to connect simultaneously to your Raspberry Pi via VNC. The default RealVNC Server supports simultaneous access without additional user management configuration, though all users share the same desktop session.
Will VNC Affect My Pi’s Performance for Other Tasks?
Yes, VNC will impact your Pi’s performance. It consumes CPU, memory, and network resources, reducing multitasking capabilities. Lower your resolution and disable encryption to minimize performance penalties during VNC sessions.
Can I Transfer Files Between Devices Using VNC?
Yes, you can transfer files between your devices using VNC’s built-in file transfer feature. When remotely accessing your Pi, simply use the File Transfer option in the VNC toolbar to send or receive files.
Conclusion
You’ve now transformed your Raspberry Pi into a versatile remote workstation. Picture your Pi, silently humming in a corner while you control it from anywhere – no more crawling under desks or swapping monitors. Master these VNC techniques to streamline your workflow, boost productivity, and open up new project possibilities. When issues arise, you’ll quickly diagnose and resolve them, maintaining your seamless remote connection.
